Taildrop
Last validated:
Taildrop lets you send files between your personal devices on a Tailscale network (known as a tailnet).
Like all traffic sent over Tailscale, Taildrop transfers files over encrypted peer-to-peer connections, using the fastest available path. This makes it a great solution for sending sensitive or large files without third-party servers in the middle.
Taildrop is in public alpha, with many planned improvements to the user interface and capabilities. To try Taildrop, you must opt-in for your network.
Enable Taildrop for your network
Because Taildrop is an alpha feature, you must opt-in your tailnet to the feature to use it. You can do so from the General settings page of the admin console, by turning on the Send Files feature.
Client setup
Except for network access storage (NAS) devices, Taildrop does not require client setup other than installing Tailscale.
If you need to set up Taildrop for a NAS device, refer to Taildrop with NAS devices.
Send files with Taildrop
You can transfer any kind of file with Taildrop.
Taildrop is currently limited to sending files between your own personal devices. You cannot send files to devices owned by other users (even users on the same Tailscale network).
Taildrop permits you to share files between devices that you are logged in to, even if access control policies are used to restrict access to the devices. You cannot use Taildrop to send files to and from nodes you have tagged.
Taildrop also requires both devices to be running Tailscale.
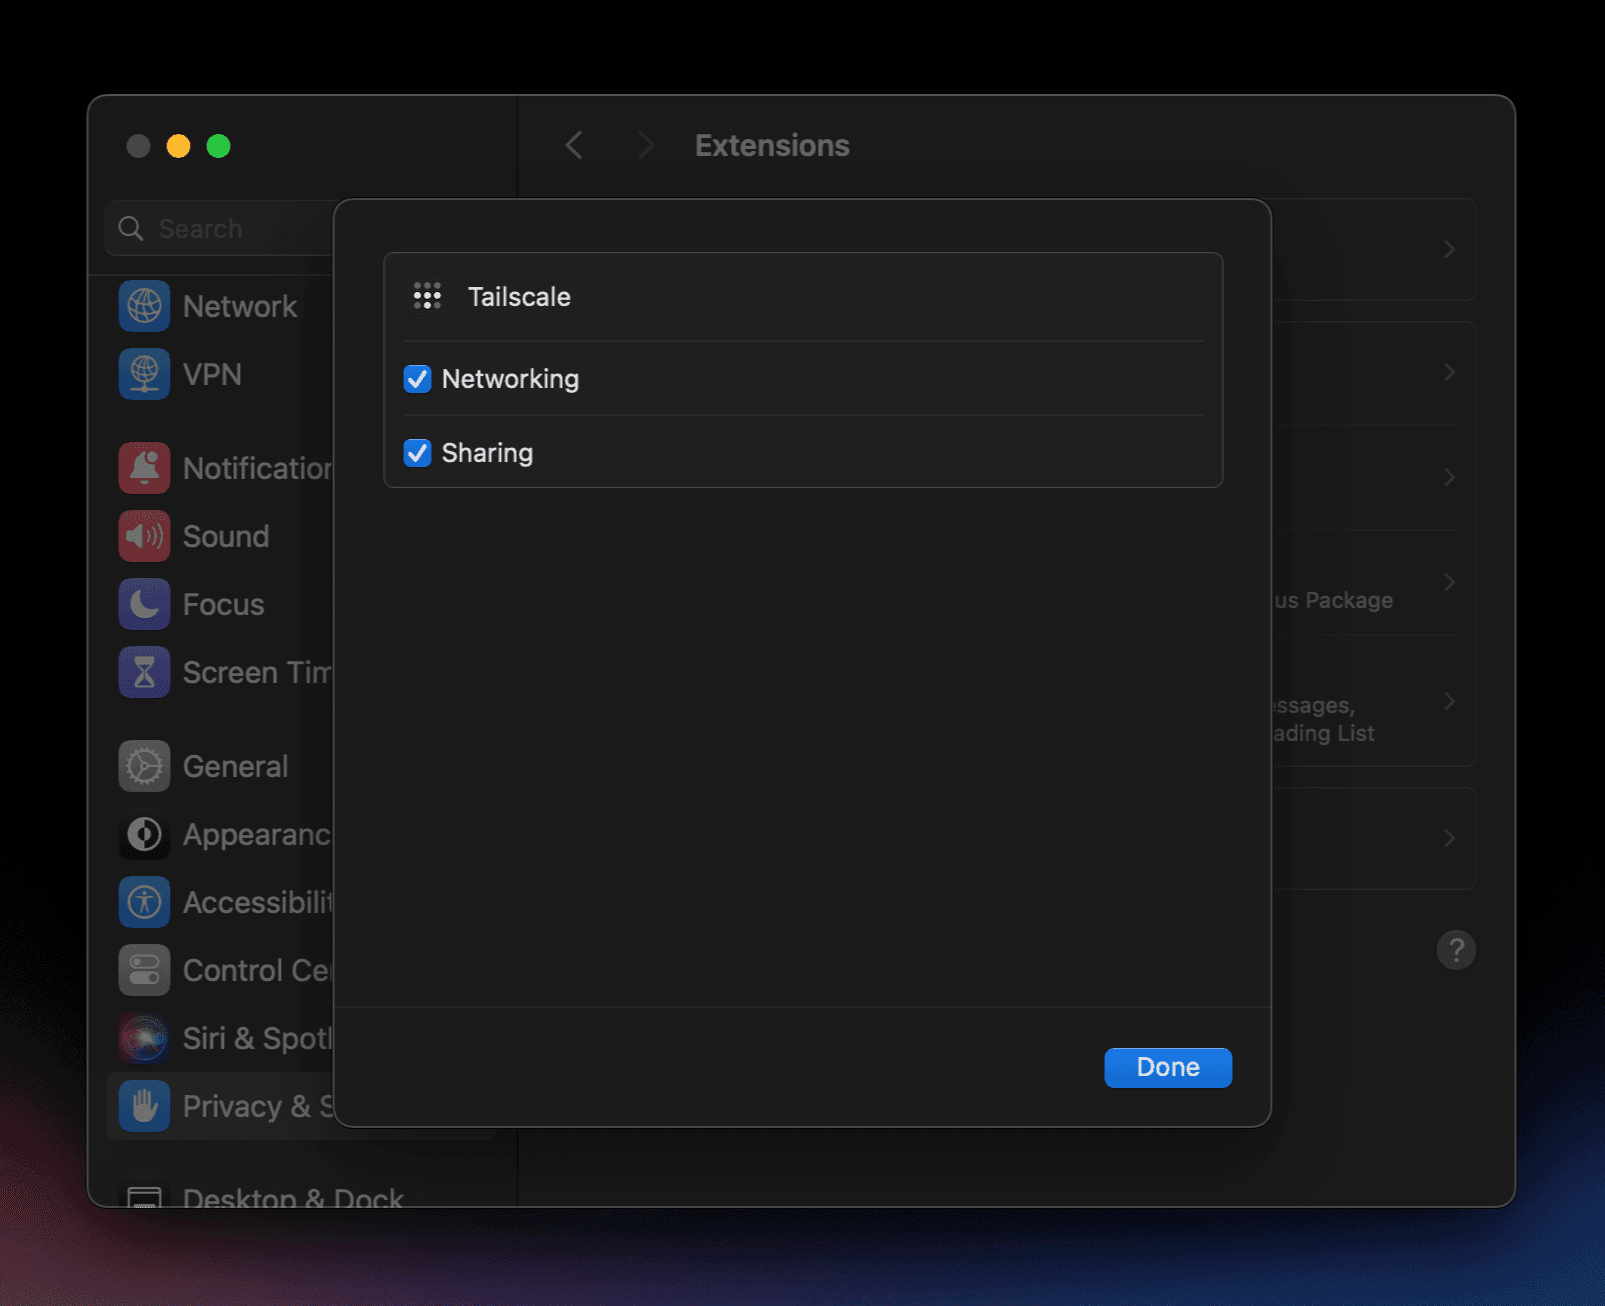
Before using Taildrop for the first time, it must be enabled in System Settings > General > Login Items & Extensions > Sharing. Enable sharing for Tailscale.
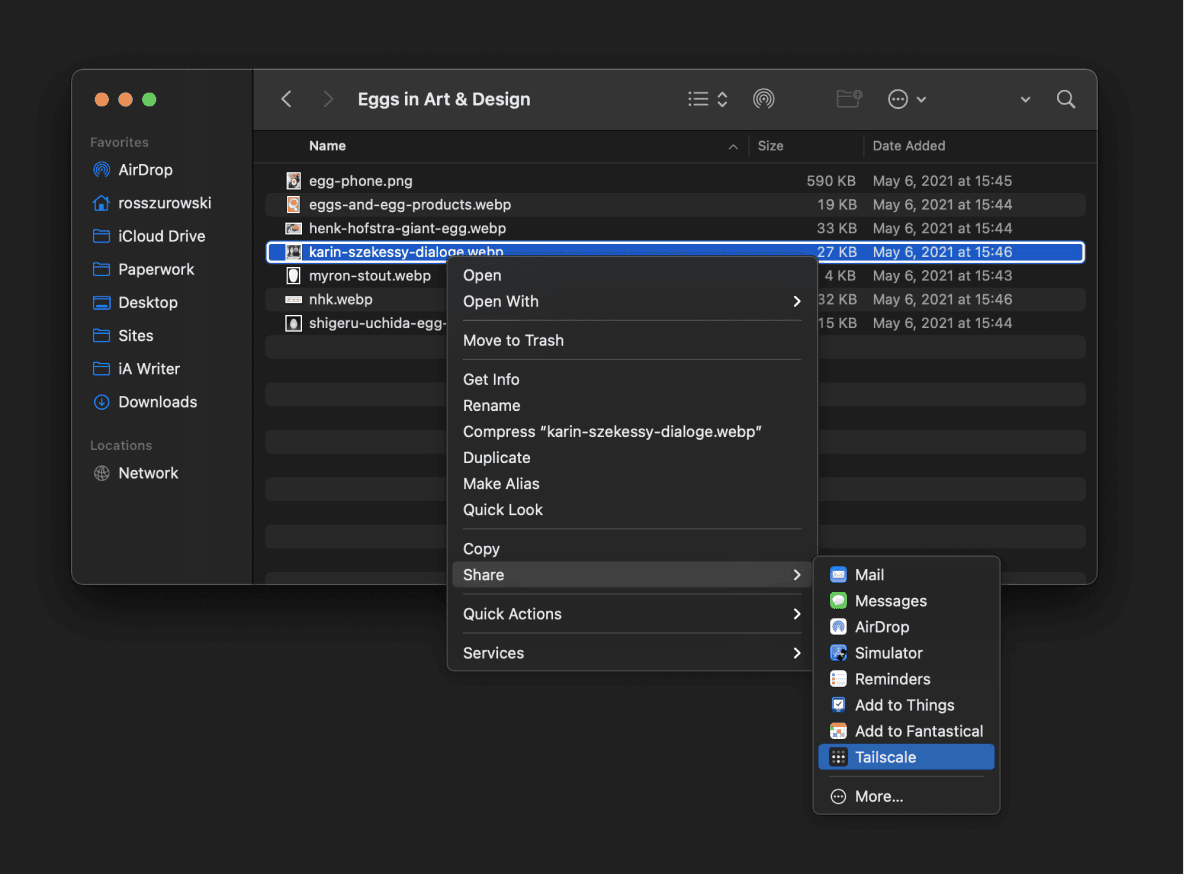
Send files to other devices by using the right-click Share menu.
Resume interrupted transfers
If your Taildrop file transfer is interrupted, you can retry the transfer and Taildrop will attempt to resume the transmission where it left off. This is especially useful when transferring large files. In most cases, a transfer can be resumed for up to an hour after it failed. For now, Taildrop can resume transfers on all platforms except when a macOS or iOS device is receiving the file.
Receive files with Taildrop
Example: Securely transfer sensitive documents from your computer to mobile device for easier on-the-go access
Finding a way to transfer sensitive files (such as medical or tax documents) between your devices can be fairly involved. Cloud-based transfer or file storage solutions carry the security and vulnerability risks of having your documents accessible over the internet. Airdrop works without needing to upload anything to the internet, but only between Apple devices and only when they're close to one another.
Taildrop provides an easy way to share your sensitive files between any of your devices. And no matter where your devices are, the files are sent over encrypted peer-to-peer connections. So, you're guaranteed the only machines that will ever have access to the files during the transfer are the sending and receiving devices.
Example: Send family photos from your phone to your computer
Taildrop lets you share your photos cross-platform without needing to upload them anywhere.
Example: Share screenshots to your computer
Ever take screenshots or screen recordings but don't actually need them on the device you captured them on? Here at Tailscale we take a lot of screenshots of our client apps during the development process that we then have to transfer to our computers so we can upload them to a desktop tool such as GitHub or Figma. Taildrop helps you quickly transfer these, so you can seamlessly switch back and forth between working on the sending and receiving devices.
Example: Transfer Google Photos albums to a personal photos server
If you're looking to transfer your photos out of Google Photos and to a personal media server, Taildrop may be able to help you out. The steps below describe how to move an album from Google Photos to a remote personal machine.
Steps:
-
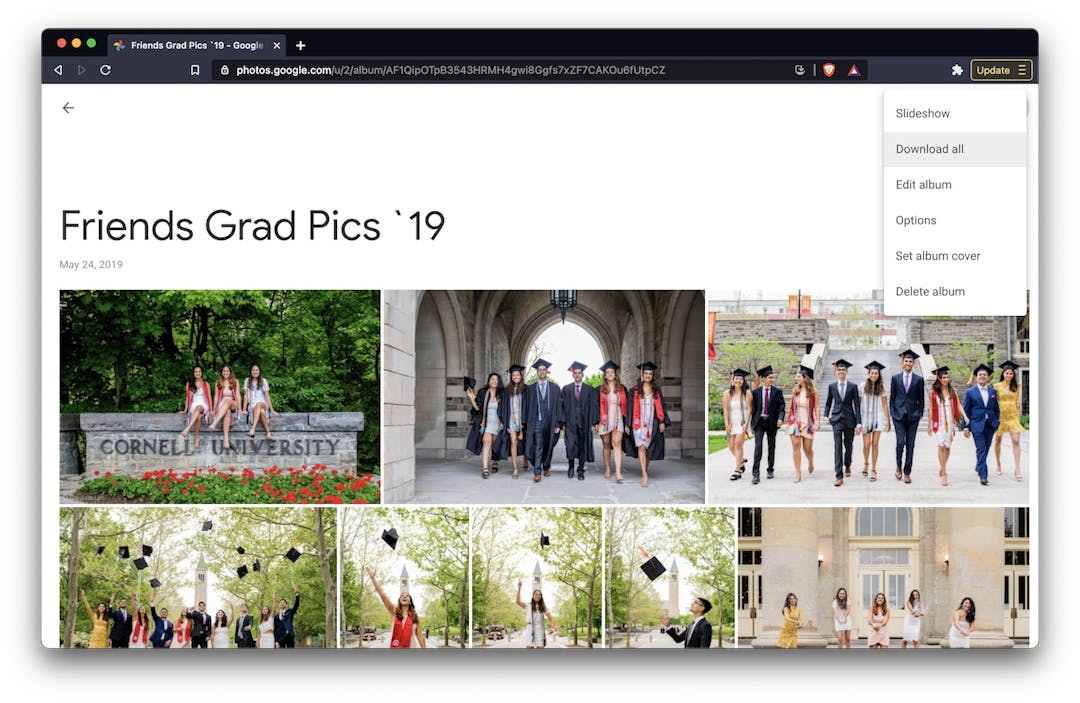
From your computer's browser, go to the Google Photos website and select an album.
-
In the top right corner, select the rightmost menu item and choose Download all.
-
This will download a zip file of the album to your computer. If this computer is the end destination that you want your photos on, you can stop here, no need to Taildrop.
-
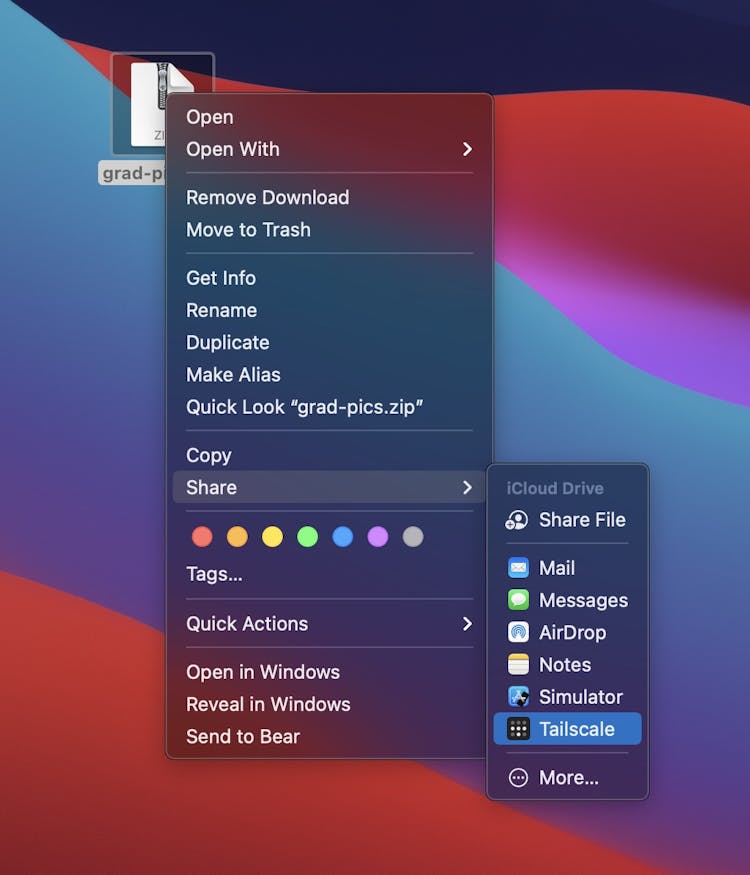
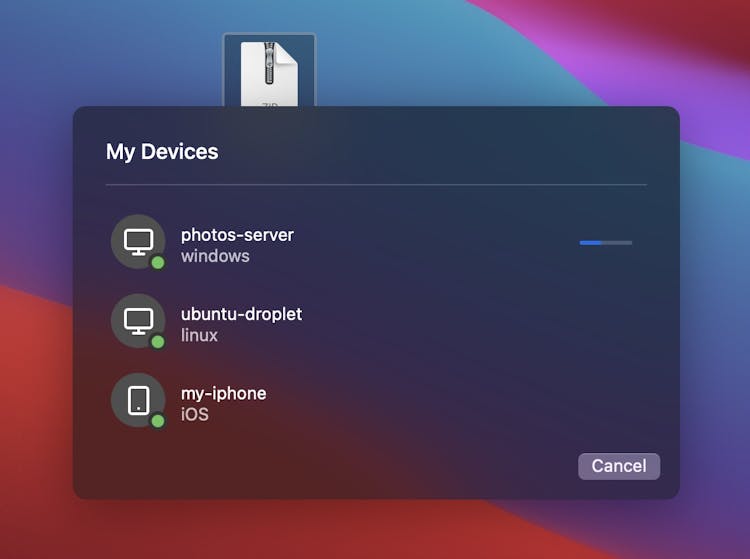
But if you want to transfer your photos to a remote device (maybe a device you've dedicated as a media server), you can right-click on the zip file and choose to share with Taildrop.
-
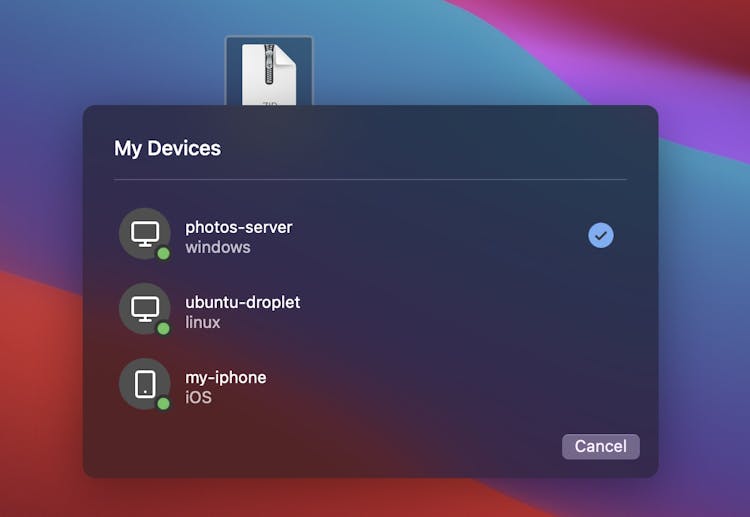
From the Taildrop modal, select your media server and the zip file will be transferred to that device.
-
After the transfer completes, you can delete the zip file from your original device.