Deploy Tailscale with Iru
Iru is formerly known as Kandji. Several references to Kandji may still be found in instructions, code examples, and user interfaces.
You can use the Iru mobile device management (MDM) solution to deploy Tailscale in your organization. You can use Iru to remotely install the Tailscale client, configure a number of system policies, and deploy these policies across devices in your organization. Tailscale system policies with Iru are supported on macOS and iOS.
If you need help deploying Tailscale using Iru, or would like to suggest any feature enhancements, contact our support or sales teams.
Deploying Tailscale using Kandji Auto Apps
See Deploy Tailscale on macOS using MDM for general best practices and Approve the Tailscale system extension automatically to ensure the best end-user experience.
The Auto Apps feature in Kandji lets you automatically install Tailscale on any Mac in your fleet. Optionally, Kandji can also keep track of new Tailscale versions and automatically install them based on rules you define. To get started, follow these steps:
-
Login to your Kandji admin console at
<companyName>.kandji.io. -
Select the Library tab, and then add a new item by selecting the Add Item button.
-
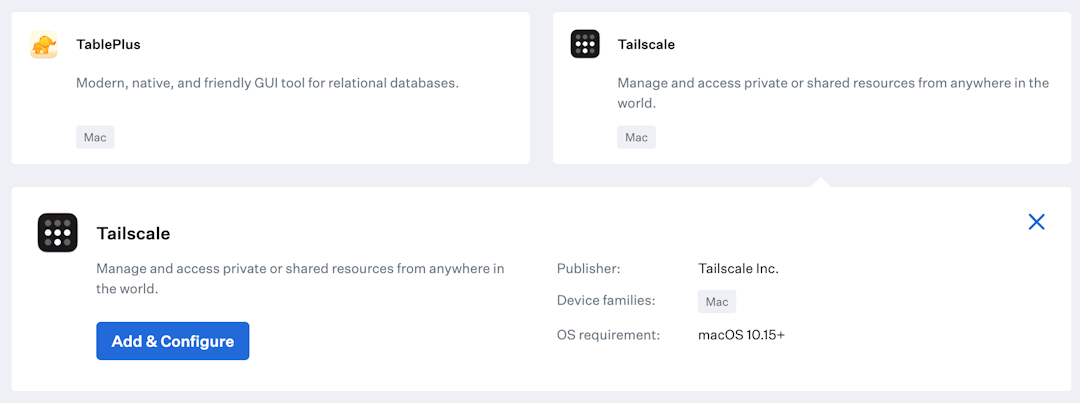
Scroll down the page to the Auto Apps section. Choose Tailscale, then Add and Configure, which will add Tailscale to your Kandji library.
-
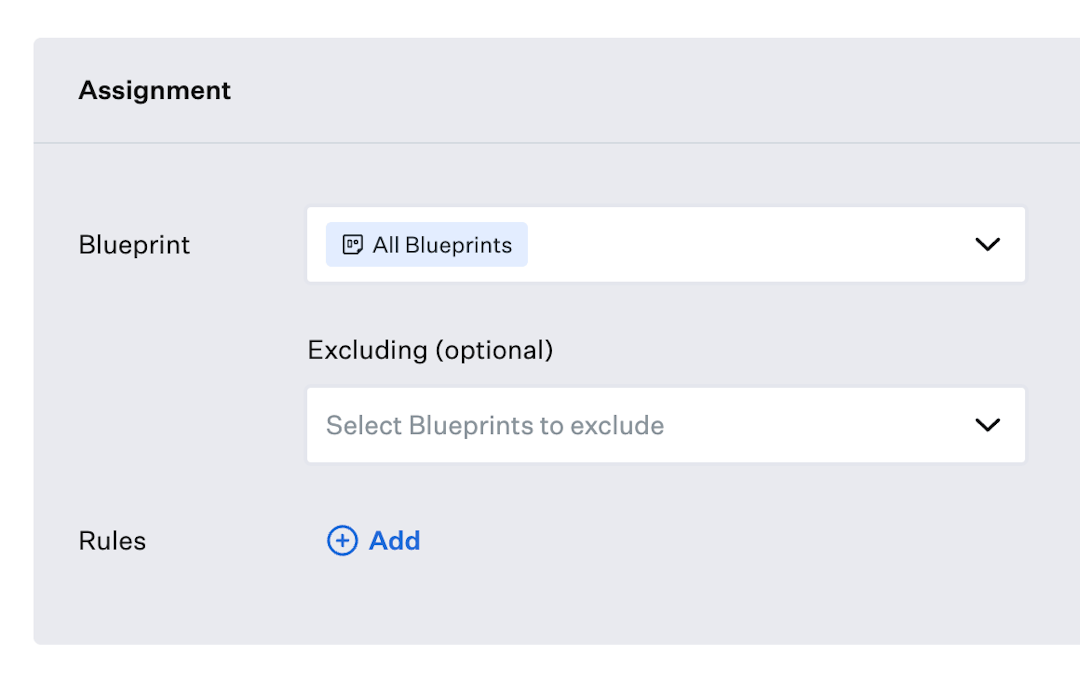
Choose one or more blueprints you want Tailscale to be added to. Blueprints are a set of library items and other configurations that can be deployed to a group of devices. For instance, to deploy Tailscale to all devices in your fleet, select the All Blueprints option. You can also add additional optional rules to restrict the assignment within the blueprint.
-
Select an installation method. You can choose to install and continuously enforce the Tailscale installation on devices, or allow your users to install Tailscale on-demand from your Kandji Self Service app.
-
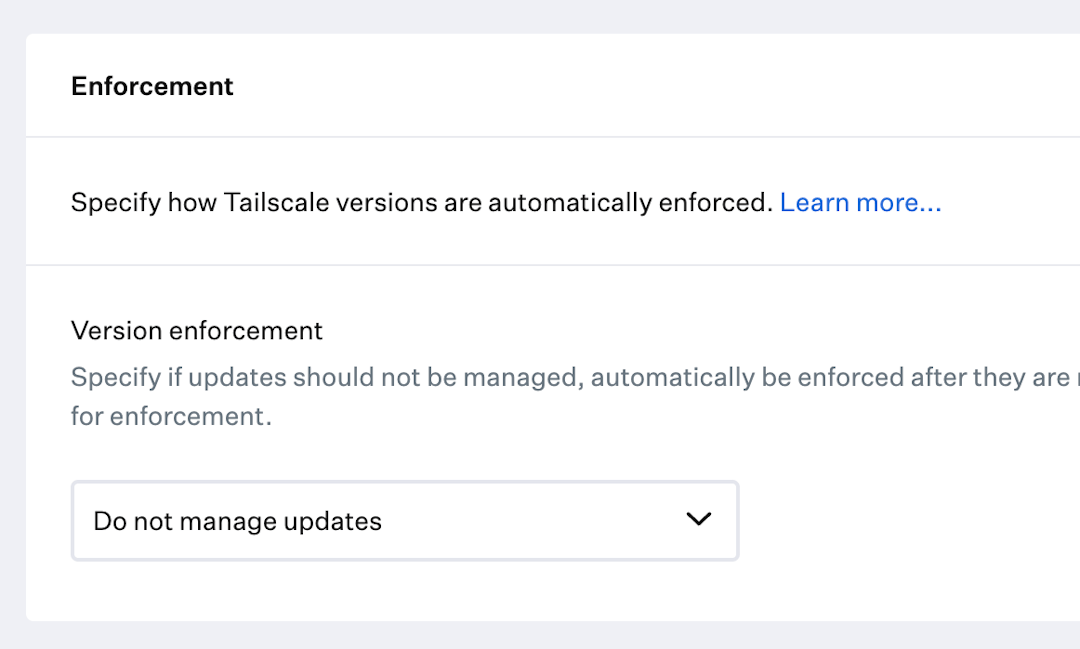
In the Enforcement section, choose whether Kandji should automatically update the Tailscale client for you or not. Refer to Managing Tailscale updates with Kandji later in this topic for more information.
-
Turn on the Notifications switch to enable notification permissions for the client automatically. This will allow Tailscale to notify your users when their device key is about to expire, if their internet connection is down, or if other actions are required.
-
Tailscale runs as a menu bar app with no Dock icon, so you can safely uncheck the Add to Dock during install option.
-
Choose Save to continue.
-
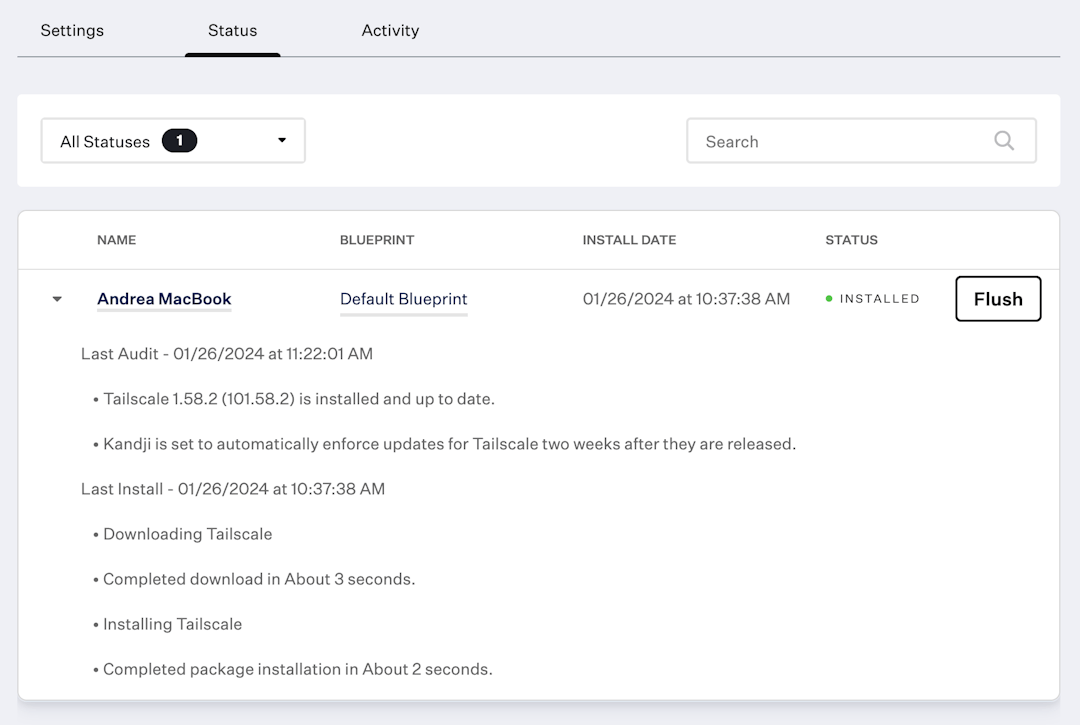
The deployment of the Tailscale client will begin according to the options you selected. You can use the Status tab to track its status.
Managing Tailscale updates with Kandji
By default, Tailscale will automatically update on its own by using the Sparkle framework built into the app. We provide several system policies to configure the auto-updater settings, including whether or not these settings are visible to end-users. If you prefer to use the built-in auto-updater in Tailscale, you should choose Do not manage updates when setting up Tailscale in the Kandji library.
If you prefer to centralize management of your app updates, you might want to have Kandji install updates for you. To enable this, choose either one of the Automatically enforce new updates or Manually enforce a new version options. Then, set up the following system policy values to ensure the Tailscale auto-updater won't run and won't be visible to users:
SUAutomaticallyUpdate=falseSUEnableAutomaticChecks=falseApplyUpdates=hide
Deploying Tailscale system policies using Kandji
Tailscale system policies let you customize the behavior of the Tailscale client on the devices in your fleet. You can force Tailscale to always be enabled, enforce the use of a given exit node, hide specific parts of the user interface, and so on. For more information about the available options, refer to the system policies topic.
To get started deploying Tailscale system policies with Kandji, you'll first need to determine which policies you wish to impose on your devices. Once you know which system policies to impose and the value for each, you'll then need to create an Apple configuration profile (.mobileconfig file) to define them, and upload the profile to the Kandji admin console.
-
Paste the contents of our configuration profile template, which provides preset values for the ManagedByOrganizationName and IPAddressCopiedAlertSuppressed policies into a new XML file called
Tailscale.mobileconfig. This XML file with the.mobileconfigextension will become your configuration profile. -
Login to your Kandji admin console at
<companyName>.kandji.io. -
Select the Library tab, and then add a new item by selecting the Add Item button.
-
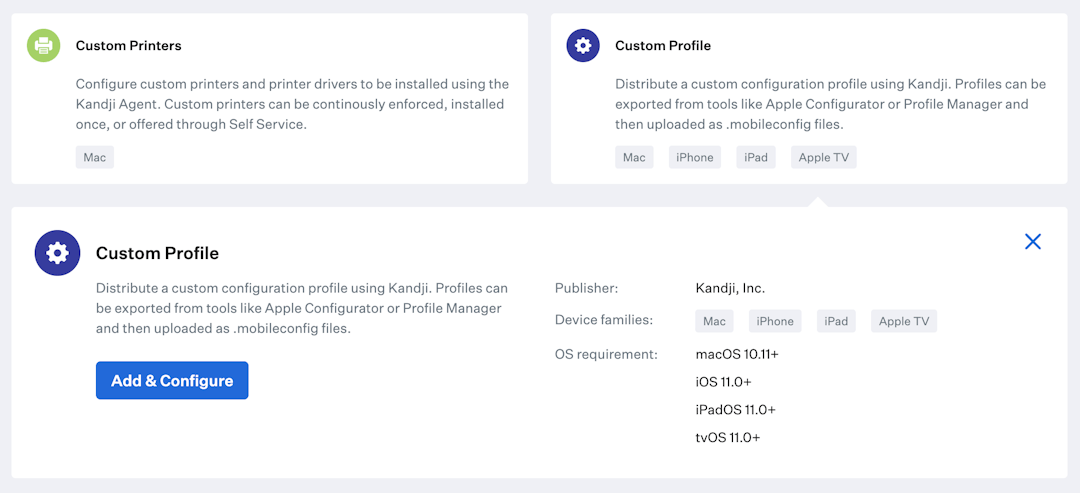
Select the Custom Profile and then Add and Configure.
-
Assign a descriptive name to the profile. For instance,
Tailscale System Policies for macOS.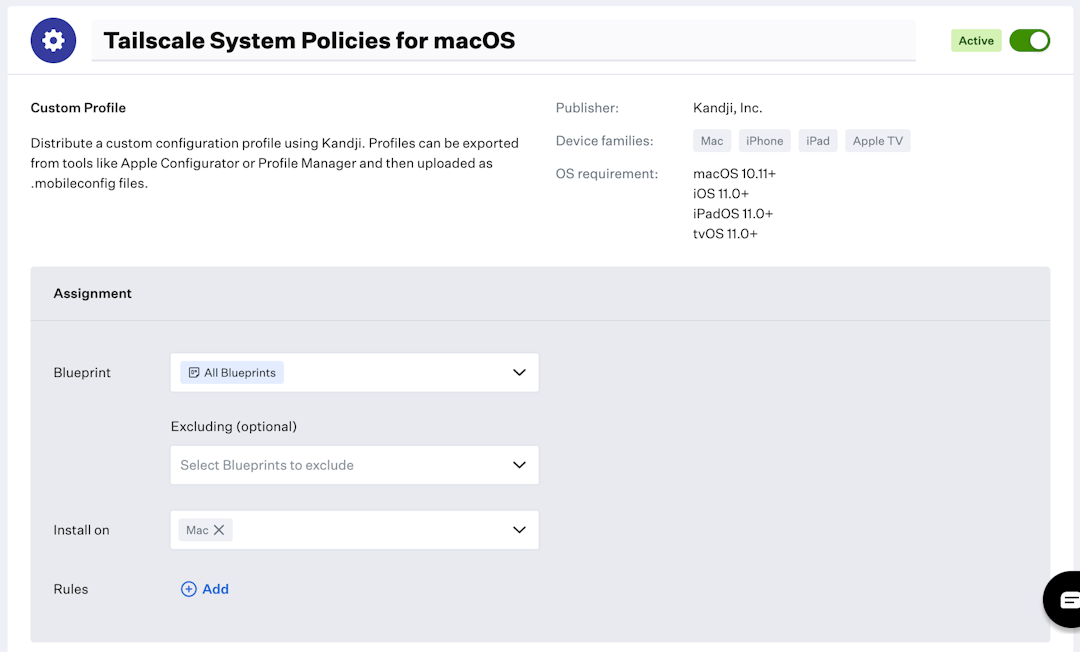
-
Upload the
.mobileconfigfile you previously created to the admin console.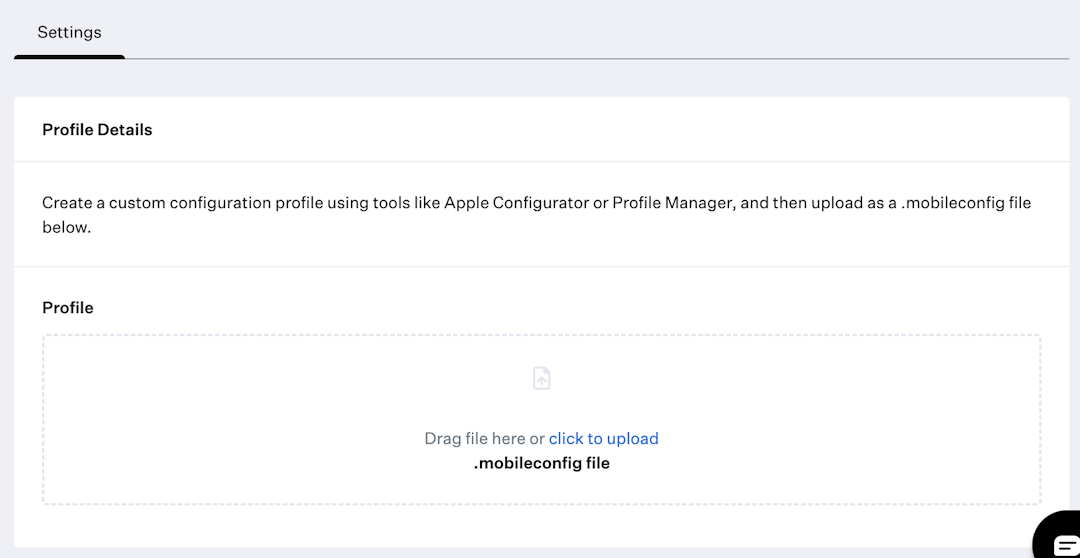
-
Choose Save.
-
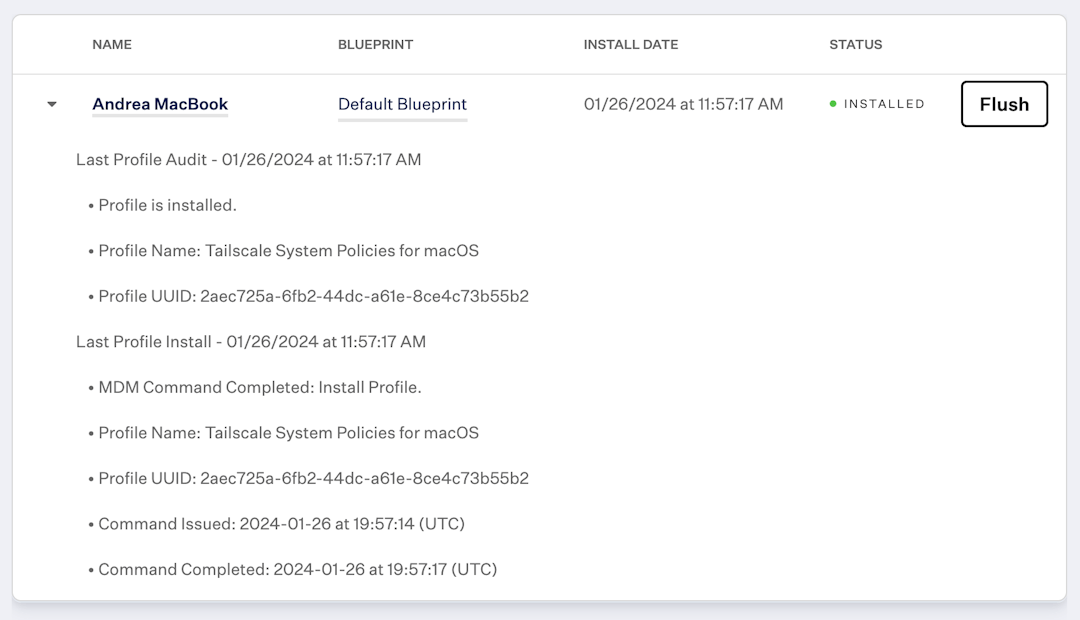
The deployment of the system policies will begin according to the options you selected. You can use the Status tab to track its status.
-
Restart the Tailscale client on your devices to ensure the policies are fully applied. If you deployed the ManagedByOrganizationName policy, you can quickly verify the success of the deployment by checking a Managed by CompanyName menu item in the Tailscale client.
