Tailscale Serve examples
Tailscale Serve lets you share content and local servers from your Tailscale node to your Tailscale network (known as a tailnet). This topic provides some guidance on using the most popular Serve features. We've heard from lots of Tailscale users about how they're using Serve, and we've collected these examples to help inspire you to use it in new and interesting ways.
Due to macOS app sandbox limitations, serving files and directories with Serve only works with Tailscale's open source variant. If you've installed Tailscale on macOS through the Mac App Store or as a Standalone variant system extension, you can use Serve to share ports but not files or directories.
Additionally, keep in mind that access control rules apply to Serve just like any other service. If you have access control rules that restrict access to certain devices or users, those rules will also apply to the services you're sharing with Serve.
Before you begin trying out the examples in this topic, we recommend you review the setup information for Serve.
Share a basic file server
In this example, we will explore how to use Serve to create a basic file server shared with other devices in your tailnet. Using the tailscale serve CLI command as a file server is often much more efficient than transferring through a third-party service and more convenient than using something like Python's http.server.
For the purposes of this guide, we need some files to serve. We'll create those from scratch, but feel free to use existing files on your local device that you would like to share instead.
mkdir /tmp/public
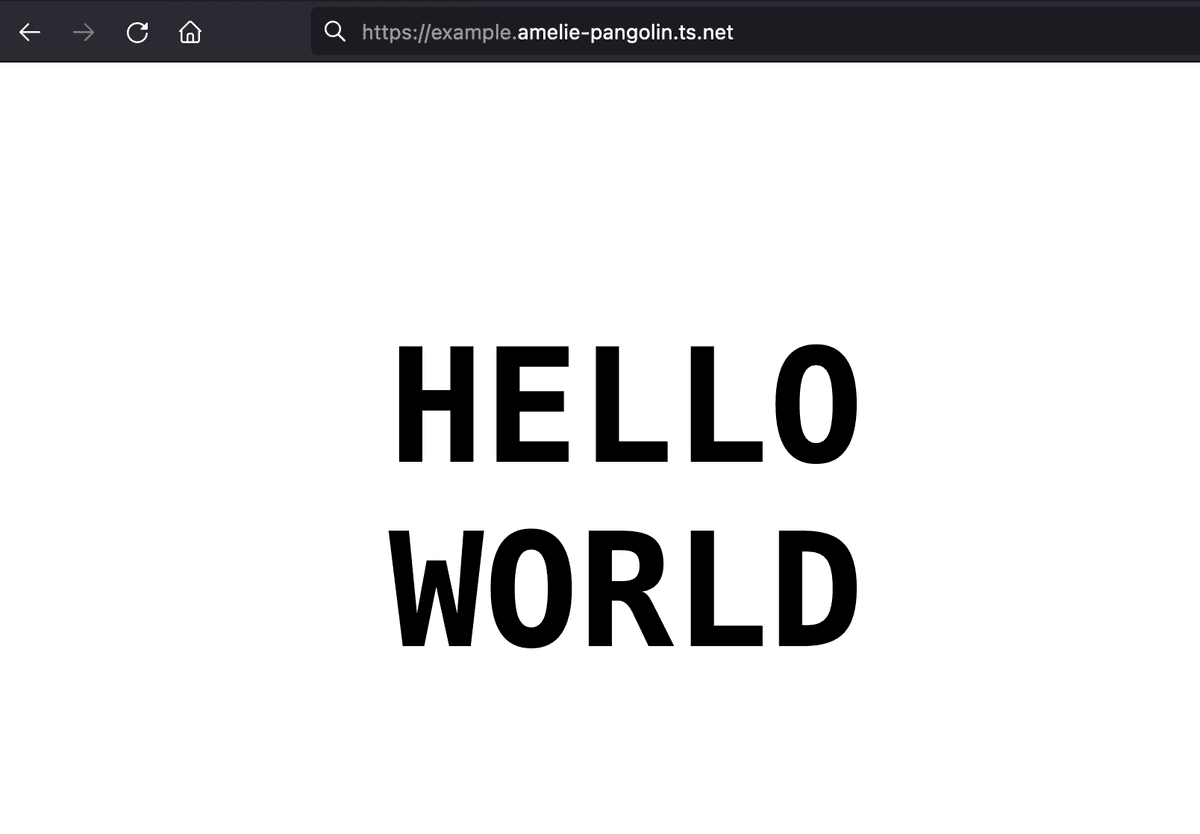
echo "Hello World" > /tmp/public/hello.txt
echo "Pangolin" > /tmp/public/animal.txt
Now, we can serve these files to your tailnet using Serve:
sudo tailscale serve /tmp/public
Available within your tailnet
https://amelie-workstation.pango-lin.ts.net

|-- / path /tmp/public

Press Ctrl+C to exit.
On Windows, instead of using sudo, open an Administrator console by pressing Windows+x then selecting Terminal (Admin) from the menu. Then run:
c:\Users\Amelie> tailscale serve c:\tmp\public
Throughout this topic, Windows users should run tailscale serve commands without sudo but in the Admin terminal.
By default, Serve runs in the foreground, meaning that if you press Ctrl+C or close the terminal session, Tailscale will stop sharing over Serve. If you want to persist sharing using Serve even when the session ends, use the --bg flag:
sudo tailscale serve --bg /tmp/public
Available within your tailnet:
https://amelie-workstation.pango-lin.ts.net

|-- / path  /tmp/public

Serve started and running in the background.
To disable the proxy, run: tailscale serve off
If you run Serve in the background, you'll need to remember to turn Serve off with the command tailscale serve off, when you want to stop sharing to your tailnet.
For the purpose of this guide, we will use curl to confirm the URLs work, but you should also be able to access the two files we created by visiting your Serve URL in a browser:
curl -L https://amelie-workstation.pango-lin.ts.net
<pre>
<a href="animal.txt">animal.txt</a>
<a href="hello.txt">hello.txt</a>
</pre>

curl -L https://amelie-workstation.pango-lin.ts.net/animal.txt
Pangolin
Serve a static site
This example shows you how to serve a static HTML website to other devices in your tailnet.
To get started, let's create some files as an example of what a static site would consist of: an index file and some assets. If you have existing website assets on your device, you can use those instead. Hand-coded HTML and CSS might be all you need, or you can use one of the many static site generators that exist.
/tmp/static-site/index.html
<html>
  <head>
    <title>Hello World</title>
    <link rel="stylesheet" href="/styles.css" />
  </head>
  <body>
    <h1>Hello World</h1>
  </body>
</html>
/tmp/static-site/styles.css
*,
html {
  margin: 0;
  padding: 0;
  box-sizing: border-box;
  font-family: monospace;
  font-size: 10vw;
  text-transform: uppercase;
}

body {
  position: absolute;
  left: 50%;
  top: 25%;
  transform: translate3d(-50%, -50%, 0);
  overflow: hidden;
}

h1 {
  position: relative;
  top: 2em;
  animation: slide-up 3s infinite;
}

@keyframes slide-up {
  0% {
        top: 2em;
  }
  50% {
    top: 0em;
  }
  100% {
    top: 2em;
  }
}
Now, let's serve our static site to the tailnet:
sudo tailscale serve /tmp/static-site
The status confirms the previous command and provides the hostname that Serve configures for this node. Here, we can verify it's in the tailnet only:
sudo tailscale serve /tmp/static-site
Available within your tailnet:
https://amelie-workstation.pango-lin.ts.net

|-- / path /tmp/static-site

Press Ctrl+C to exit.
You can now open the URL in your browser to confirm everything is working.
Expose a development server to your tailnet
Having a route accessible with Serve means that other users in your tailnet can reach out to and interact with a local server running on your device. For example, if you are working on a blog post and want to share a draft for review, you can make your development site available to your tailnet with Serve.
Assuming you have a local HTTP server running on port 3000, you can expose the local server to your tailnet over HTTPS with Serve:
tailscale serve 3000
tailscale serve 3000
Available within your tailnet:
https://amelie-workstation.pango-lin.ts.net

|-- / proxy http://127.0.0.1:3000

Press Ctrl+C to exit.
Open the URL in your browser to confirm that everything is working correctly.
As long as your development device is online and connected to Tailscale, the data routes to and from your development server with Serve.
When using Serve to forward ports, you don't need to use sudo or an Administrator console.
Bind local services to your tailnet
In addition to running an HTTPS server, you can use the command tailscale serve to bind local TCP-based services to your Tailscale IP and make them available privately across your tailnet.
Here's an example of rebinding your device's SSH server to port 2222. You might find this helpful when using Tailscale SSH to provide backup access to your device's SSH server, for example:
tailscale serve --tcp 2222 22
From another device, connect as you normally would with SSH but add the port we configured as a flag to the command. For example:
ssh -p 2222 <user>@100.x.y.z
Share a Serve node
One of the nice things about Serve is having a predictable, stable DNS name, like web-dev.pango-lin.ts.net. This lets you set or share your DNS name once and have it accessible any time you turn Serve on.
But what if you want to share the Serve DNS name with multiple collaborators or colleagues? This can come up if you're collaborating on developing a web application and wish to keep that URL stable, no matter which developer is currently working on the app.
Our recommendation for sharing a Serve node is to set up a node with the desired name. Let's call it web-dev.pango-lin.ts.net. Optionally, turn on Tailscale SSH to make it easier to connect to.
Turn on Serve on this node, for example:
tailscale serve 8080
This enables Serve to forward HTTPS traffic from any path to the device's http://localhost:8080.
We're now one command away from being able to forward our web development server to this shared Serve node, thus making it available over the Serve we just set up.
From the other devices that you wish to share the Serve with, start your development server for testing your web app. In the following example, we use port 3000 as the local development server's port. Then, start an SSH reverse proxy connecting your local development server to the shared Serve node, configured on its port 8080, which we set up as our Serve's target, for example:
ssh -NT -R 8080:127.0.0.1:3000 web-dev.pango-lin.ts.net
What if the shared Serve is already in use? You'll receive an error message when establishing the SSH reverse proxy. It will report a message similar to the following:
Warning: remote port forwarding failed for listen port 8080
Forward app capabilities to a local service
This feature is available in Tailscale v1.92 or later.
Serve lets you use the --accept-app-caps command line flag to list app capabilities Serve should forward to your local service.
If a user or tagged node that makes a request has been granted any of the app capabilities specified, Serve will convert them into serialised JSON and forward them in a header called Tailscale-App-Capabilities.
The destination server can use these headers, for example, to decide which resources the Tailscale user or tagged node associated with the request can access.
Say you wanted Serve to forward an app capability called example.com/cap/sql to a destination server.
Let's assume you had granted example.com/cap/sql to certain users or tagged nodes in your Tailnet's ACL like so:
"grants": [
  {
    "src": ["group:eng"],
    "dst": ["tag:sql"],
    "app": {
      "example.com/cap/sql": [
        {"src": ["main", "self"]}
      ]
    }
  },
  {
    "src": ["group:admin"],
    "dst": ["tag:sql"],
    "app": {
      "example.com/cap/sql": [
        {"src": ["*"]}
      ]
    }
  }
]
To let Serve forward the app capability example.com/cap/sql to a local service at port 8080, run:
tailscale serve --accept-app-caps=example.com/cap/sql 8080
Whenever a user with that app capability makes a request to the destination server through the Serve proxy you've just created, the destination server will receive the header Tailscale-App-Capabilities containing the app capability as a JSON string. The header will contain the value {"example.com/cap/sql":[{"src":["main","self"]}]} for a user in group:eng, and {"example.com/cap/sql":[{"src":["*"]}]} for a user in group:admin.
When you use the capability headers to authorize users or tagged nodes at a backend service, it's best practice to only have the service listen on localhost. Otherwise, any user that can call your service directly (rather than with the Serve URL) could trivially provide their own values for these HTTP headers. By listening only on localhost, this limits tampering to only other services running on the Serve device, and not anyone on your LAN or tailnet.