GitOps for Tailscale with Bitbucket
Last validated:
Access control policies define what users or devices are permitted to access in your Tailscale network (known as a tailnet). An alternative to managing the access control policy changes in the Access controls page of the admin console is to use GitOps to manage the access control policy changes. This topic provides details on how to use Bitbucket Pipelines to automatically apply and test access control policy changes to your tailnet.
Prerequisites
In addition to already having your own Tailscale network, you need:
- A Bitbucket account.
- Working knowledge of Bitbucket procedures including committing changes, creating pull requests, and merging pull requests.
- A private Bitbucket repository that will contain your tailnet policy file.
Make sure this repository is private, as tailnet policy files contain personally identifiable information (PII), such as users email addresses.
- A Tailscale API access token for your tailnet. You can create an API access token in the Keys page of the admin console.
Set up your GitOps configuration
- In your Bitbucket repository, create a file named
policy.hujson. Copy your tailnet policy file contents from the Access controls page of the admin console into this file.
If you want to change the tailnet policy file name to something else, you need to modify the --policy-file argument used by the gitops-pusher binary in the Bitbucket pipeline discussed below.
-
Commit the tailnet policy file and push it to Bitbucket. For example, if you are using the command line:
git add . git commit -sm "policy: import from admin console" git push -u origin main -
Within your repository's Repository variables settings, create the following Bitbucket secured variables:
TS_API_KEY: Use your Tailscale API access token as the value.TS_TAILNET: Use your tailnet ID as the value. You can find your tailnet ID in the General page of the admin console.
These secrets provide the configuration for the pipeline.
-
Make a new Bitbucket Pipelines pipeline that uses the
gitops-pusherbinary.Create a file named
bitbucket-pipelines.ymlin theSourcefolder and paste in the following:image: golang pipelines: default: - step: name: Test ACL script: - go install tailscale.com/cmd/gitops-pusher@latest - gitops-pusher --policy-file ./policy.hujson test branches: main: - step: name: Deploy ACL script: - go install tailscale.com/cmd/gitops-pusher@latest - gitops-pusher --policy-file ./policy.hujson applyFor information about Bitbucket Pipelines options and properties, refer to the Bitbucket Pipelines configuration reference.
-
Commit and push
bitbucket-pipelines.yml. -
Follow the instructions to prevent others from accidentally modifying your tailnet policy file in the admin console.
The main steps in the pipeline are installing and building the gitops-pusher binary and then running the binary. On pull requests, the Test ACL step will send your tailnet policy file to Tailscale to determine whether the access control policy is valid and whether all tests pass. Tailscale provides your pipeline with the result of those checks, which display in the Bitbucket Pipelines page.
On push (merge) operations that target the main branch, the Deploy ACL step will send your tailnet policy file to Tailscale to determine whether the tailnet policy file is valid and whether all tests pass. If this portion succeeds, Tailscale then applies your tailnet policy file update to your tailnet. Tailscale provides your pipeline with the result of this step, which displays in the Bitbucket Pipelines page.
With this setup, you have created a continuous integration (CI) that automatically tests and pushes your tailnet policy file changes to Tailscale!
Push changes to your tailnet policy file
Now that your configuration has been set up, any time your want to update your tailnet policy file, modify the tailnet policy file in your repository and use the typical Bitbucket authoring/review/merge flow.
Prevent others from accidentally modifying your tailnet policy file
On June 3, 2025, we announced the deprecation of the GitOps code comment technique for locking the policy file editor in the admin console. Tailnets that were using this method were automatically migrated to use the setting in the admin console. The code comment is no longer effective for locking the policy file editor.
To prevent other admins in your organization from accidentally changing your tailnet policy file, you can lock the editor in the Policy file management page in the Tailscale admin console.
You must be an Owner, Admin, or Network admin of a tailnet to update tailnet policy file settings.
- Open the Policy file management page in the Tailscale admin console.
- If it is not already enabled, select Prevent edits in the admin console to prevent editing of the file.
- For External reference, enter the URL of your repository. This lets other admins to know where the source of your policies is located.
- Select Save.
Any admin with permissions to edit the tailnet policy file can still edit it directly by selecting Edit anyway. This lets admins to quickly make changes in case of an emergency.
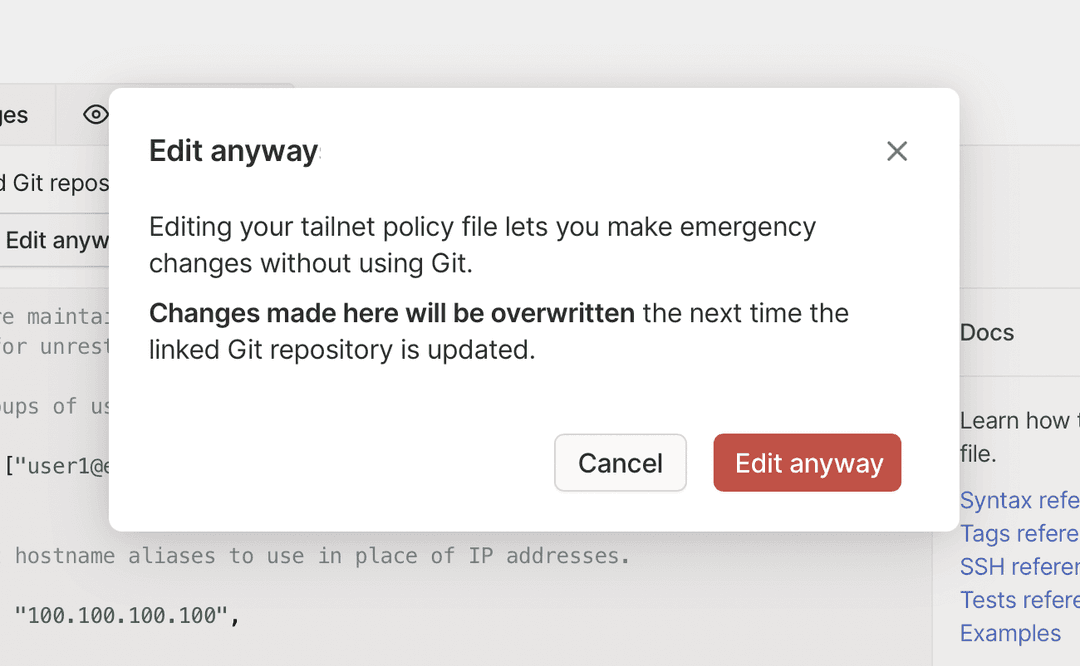
The next time you use the GitOps flow, it overwrites the tailnet policy file changes made in the admin console.
Revert the most recent change to your tailnet policy file
If you need to revert the most recent change, use the Bitbucket Pull requests page to find and then revert the merged pull request.
Remove your GitOps configuration
-
Open the Policy file management page in the Tailscale admin console and disable the Prevent edits in the admin console toggle.
-
Optionally, delete the External reference link and select Save.
-
Revoke any associated Tailscale API access tokens for this configuration.
-
Archive or delete the associated BitBucket repository.
Additional information
-
Any manual tailnet policy file changes in the admin console won't be reflected in your Bitbucket version of the tailnet policy file. The next time you use the Bitbucket pipeline, any changes made in the Tailscale admin console will be overwritten.
-
Tailscale API access tokens expire and currently there is no mechanism to have them automatically renewed. To handle the expiration, create a new API access token and update the Bitbucket
TS_API_KEYsecret to use the new value.Tailscale API access tokens expire after 90 days (or less if the key has a shorter expiry) but updating the Bitbucket secret monthly is a good practice.
When you no longer need to use a Tailscale API access token, make sure you revoke it in the Keys page of the Tailscale admin console.
-
Tailscale tailnet policy files are in HuJSON, a JSON format with trailing commas and comments. If you don't want to write your tailnet policy files in HuJSON directly, you can use a tool that lets you generate JSON in the same schema as the HuJSON format.