Tailscale Funnel examples
Before you try the examples in this topic, review the Funnel documentation to make sure you meet the requirements.
With Tailscale Funnel, you can expose local services, folders, or text to the public internet over HTTPS. We've collected these examples from Tailscale users to inspire you to try it in new ways.
You can share nearly any HTTP or TCP service listening on your local device with Funnel. For example, you can share a web application demo with a client, test changes to a webhook receiver without waiting for a cloud service to converge on every change, or expose a development copy of your website to test OpenGraph metadata changes.
The following sections cover common use cases in more detail.
Share a simple file server
The following example uses the tailscale funnel command to create a simple file server. Using Funnel as a file server is often more efficient than transferring through a third-party service. It's also more convenient than using tools like Python's http.server.
First, create some files to serve. This example creates the files from scratch, but you can also use existing files.
mkdir /tmp/public
echo "Hello World" > /tmp/public/hello.txt
echo "Pangolin" > /tmp/public/animal.txt
Serve the files over the internet using Funnel:
sudo tailscale funnel /tmp/public
On Windows, instead of using sudo, open the a command prompt as Administrator, then run:
c:\Users\Amelie> tailscale funnel c:\tmp\public
The status confirms the previous command and provides the hostname that Funnel configures for the device.
sudo tailscale funnel /tmp/public
Available on the internet:
https://amelie-workstation.pango-lin.ts.net

|-- / path /tmp/public

Press Ctrl+C to exit.
You can use curl to confirm the URLs work, but you should also be able to access the two files you created by visiting the Funnel URL in a browser. Requesting the /public folder returns a directory listing.
curl -L https://amelie-workstation.pango-lin.ts.net
<pre>
<a href="animal.txt">animal.txt</a>
<a href="hello.txt">hello.txt</a>
</pre>

curl -L https://amelie-workstation.pango-lin.ts.net/animal.txt
Pangolin
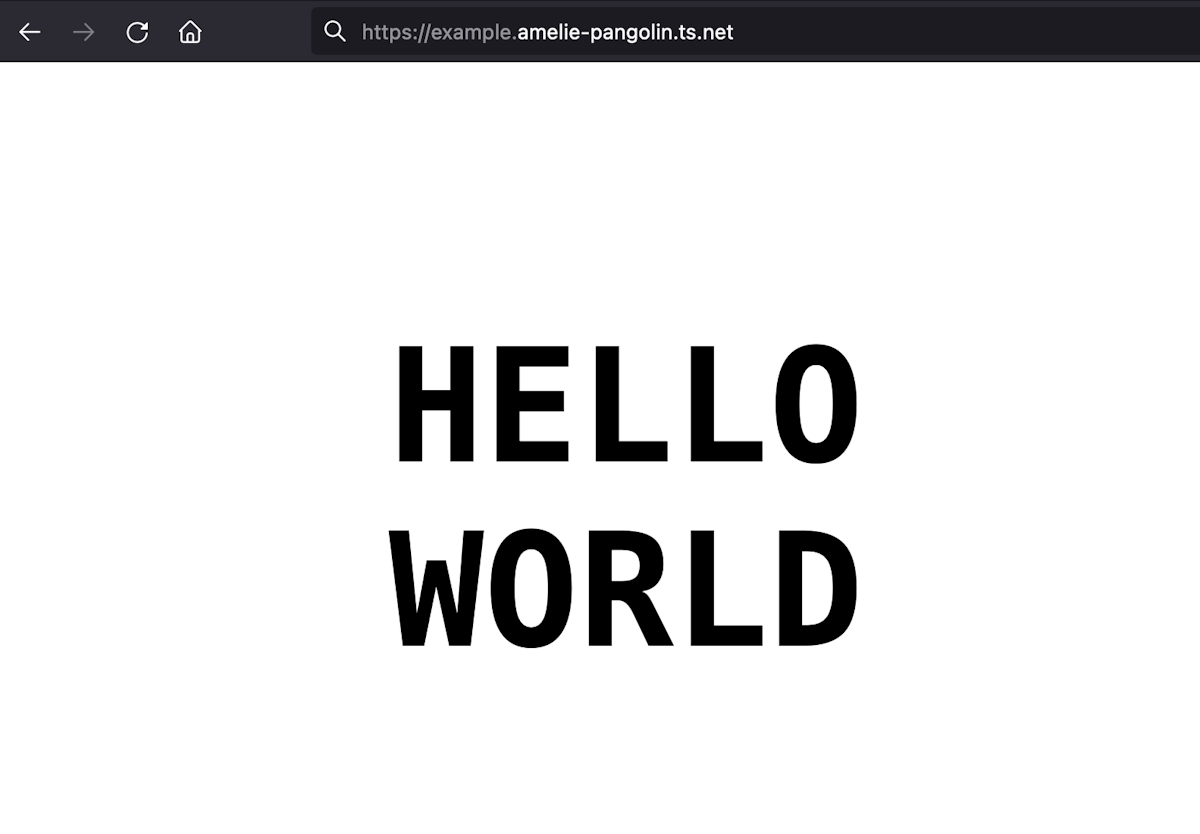
Serve a static site
This example shows how to serve a static HTML website to the internet.
To get started, create some files as an example of what a static site would consist of (for example, an index file and some assets). You can also use one of the many static site generators.
/tmp/static-site/index.html
<html>
  <head>
    <title>Hello World</title>
    <link rel="stylesheet" href="/styles.css" />
  </head>
  <body>
    <h1>Hello World</h1>
  </body>
</html>
/tmp/static-site/styles.css
*,
html {
  margin: 0;
  padding: 0;
  box-sizing: border-box;
  font-family: monospace;
  font-size: 10vw;
  text-transform: uppercase;
}

body {
  position: absolute;
  left: 50%;
  top: 25%;
  transform: translate3d(-50%, -50%, 0);
  overflow: hidden;
}

h1 {
  position: relative;
  top: 2em;
  animation: slide-up 3s infinite;
}

@keyframes slide-up {
  0% {
    top: 2em;
  }
  50% {
    top: 0em;
  }
  100% {
    top: 2em;
  }
}
After you have your files, serve the static site to the internet:
sudo tailscale funnel /tmp/static-site
The status confirms the previous command and provides the hostname that Funnel configures for this device.
sudo tailscale funnel /tmp/static-site
Available on the internet:
https://amelie-workstation.pango-lin.ts.net

|-- / path /tmp/static-site

Press Ctrl+C to exit.
You can now open the URL in your browser to confirm everything is working.
Expose a development server to the public
A route accessible with Funnel means other internet users can interact with a local server on your device. For example, if you are working on a blog post and want to share a draft for review, you can make your development site publicly available with Funnel.
If you have a local HTTP server running on port 3000, you can expose the local server to the internet over HTTPS with Funnel:
sudo tailscale funnel 3000
The status confirms the previous command and provides the hostname that Funnel configures for this device.
sudo tailscale funnel 3000
Available on the internet:
https://amelie-workstation.pango-lin.ts.net

|-- / proxy http://127.0.0.1:3000

Press Ctrl+C to exit.
Open the URL in your browser to confirm that everything is working correctly.
As long as your development machine is turned on and connected to Tailscale, the data will be routed to and from your development server with Funnel. Remember, Funnel uses relay servers to convey the encrypted data to and from your device. It does not allow devices on the internet to connect directly to your machine.
Share a Funnel device
Funnels have a predictable, stable DNS name, like amelie-workstation.pango-lin.ts.net. This lets you set or share your DNS name one time. Then, it's accessible anytime you turn your Funnel on.
Turn on Tailscale SSH to make Funnels easier to connect to.
You can also share the Funnel DNS name with multiple collaborators or colleagues. This is useful when configuring a backend like GitHub with a development webhook URL and wish to keep that URL stable, no matter which developer is currently testing the webhook APIs.
You can share a Funnel device with a custom name. For example, a Funnel that exposes GitHub webhooks might have a name like github-hooks-dev.pango-lin.ts.net.
The follow command tuns on the Funnel for port 8080:
sudo tailscale funnel 8080
This lets Funnel forward HTTPS traffic from any path to http://localhost:8080.
Start your development server to test your webhooks from the other machines with which you wish to share the Funnel. The following example uses port 3000 as the local development server's port. Start an SSH reverse proxy connecting your local development server to the shared Funnel device. The Funnel device should be configured on its port 8080, the Funnel's target. For example:
ssh -NT -R 8080:127.0.0.1:3000 github-hook-dev.pango-lin.ts.net
You can test your webhook or visit the URL https://github-hook-dev.pango-lin.ts.net. You can watch requests from the internet through your shared Funnel device to your local development server!
If a shared Funnel is already in use, Tailscale returns an error message when establishing the SSH reverse proxy.
Warning: remote port forwarding failed for listen port 8080
Test webhook receiver changes
A route in Funnel means other services on the web can reach it. They can submit data, like webhooks, from vendors like GitHub or Stripe. Using Funnel lets you test your work faster than you could if you used a cloud deployment.
You can use Funnel to expose the webhook receiver on your development device. Then, use that URL for the service you are integrating with.
If you have a local HTTP server running on port 3000, set up Funnel as a reverse proxy to that server:
sudo tailscale funnel 3000
Available on the internet:
https://amelie-workstation.pango-lin.ts.net

|-- / proxy http://127.0.0.1:3000

Press Ctrl+C to exit.
Configure the other service to use your URL and webhook path as usual. You can trigger messages to your service like any other webhook receiver. If your development device is on and connected to Tailscale, the webhooks will be routed to your server with Funnel.