How to SSH into a Raspberry Pi
This article will help you learn how to SSH into Raspberry Pi and troubleshoot some common connection issues. It will also show you an alternative way for accessing your Pi via SSH using Tailscale.
What is Raspberry Pi?
A Raspberry Pi is a low-cost, single-board computer (SBC) that's about the size of a credit card. It was introduced more than ten years ago and initially designed to make learning computer science more accessible.
Since its release, the Pi (as it’s known colloquially) has found uses in multiple sectors, including education, robotics, and home automation, to name but a few.
While the Pi is certainly capable of being used as a desktop computer, most applications will probably use it in a “headless” configuration, meaning it won’t have a display connected to it. That means the only way to connect to and configure your Pi is remotely, and the main method for doing that is a Secure Shell, or SSH, connection.
This article will help you to set up SSH on your Pi and troubleshoot some common connection issues. It will also show you an alternative way for accessing your Pi via SSH using a service like Tailscale.
Prerequisites to Accessing Pi via SSH
To follow along, you’ll need the following:
- A Raspberry Pi SBC with its power supply
- A Pi-compatible operating system, like Raspberry Pi OS or Ubuntu
- A compatible SD card on which to install the OS
- A mouse, keyboard, and monitor (at least initially)
- A working network (wireless or cabled are both fine)
Remember to check whether your model of Pi has built-in wireless functionality or not. If it doesn’t, you’re going to need an ethernet cable to connect your Pi to the network.
While the instructions for getting an operating system to run on your Pi are beyond the scope of this guide, they are easy enough to follow on the Pi’s official “Getting Started” page.
Pi First Run: Initial Boot and Configuration
After you’ve imaged the SD card, it’s time to insert it into the Pi and connect all the peripherals. Connect the keyboard, mouse, and monitor to your Pi, and finally, connect the power supply.
You’ll notice that your Pi switches itself on immediately. This is standard behavior because in most cases, you would want your Pi to be switched on at all times to perform the function you have chosen for it.
The first time you start up your Pi, you’ll be taken through a wizard, which starts with options like keyboard selection:

Run through the wizard, selecting the information that pertains to your hardware:
- Select the correct keyboard.
- Enter a new username. For this tutorial, you can use
pi. - Set a password. You can use
raspberryfor this example. - Confirm the password.
Remember to use more secure values for your password if you’re planning on using your Pi on the internet.
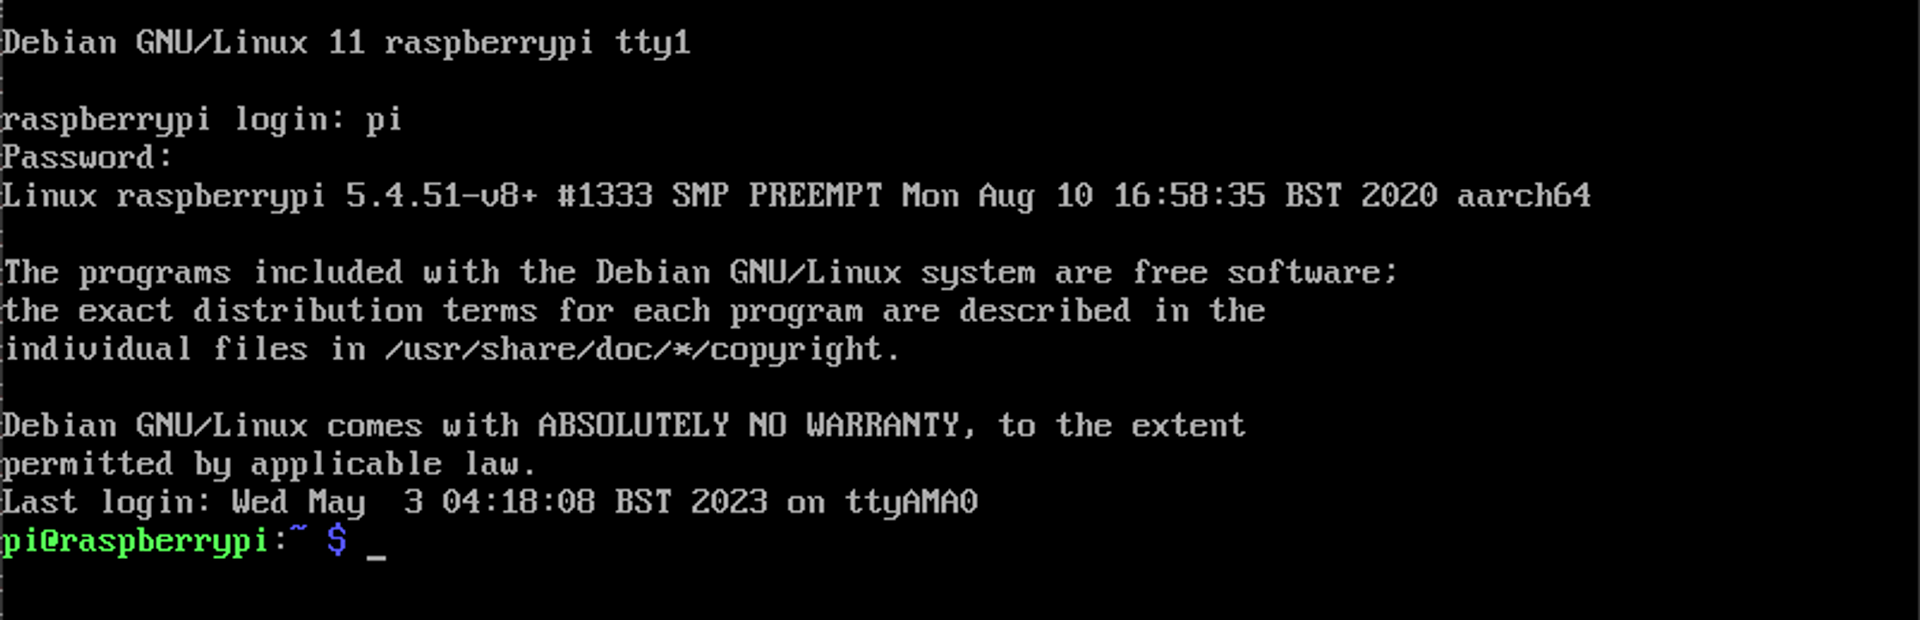
Once all that is done, you should be greeted by the login screen:

Log in using the username and password you just created:
Network Configuration
If you have a wireless dongle connected to your Pi, you’re going to have to configure that first using the sudo raspi-config command.

This built-in tool allows you to set many things on your Pi, so go ahead and explore a bit.
To connect your Pi to the wireless network, select System Options and Wireless LAN to enter your Wi-Fi SSID and password.
If you have a cable plugged in to your local network, the Pi is configured to receive a DHCP address from your local router if DHCP is enabled.
In either case, once you’ve connected a cable or configured the wireless interface, run ip a l to check whether you have an IP assigned:
pi@raspberrypi:~ $ ip a l

1: lo: <LOOPBACK,UP,LOWER_UP> mtu 65536 qdisc noqueue state UNKNOWN group default qlen 1000

    link/loopback 00:00:00:00:00:00 brd 00:00:00:00:00:00

    inet 127.0.0.1/8 scope host lo

       valid_lft forever preferred_lft forever

    inet6 ::1/128 scope host

       valid_lft forever preferred_lft forever

2: eth0: <BROADCAST,MULTICAST,UP,LOWER_UP> mtu 1500 qdisc pfifo_fast state UP group default qlen 1000

    link/ether b8:27:eb:a3:81:fb brd ff:ff:ff:ff:ff:ff

    inet 192.168.0.21/24 brd 192.168.0.255 scope global dynamic noprefixroute eth0

       valid_lft 85914sec preferred_lft 75114sec

    inet6 fe80::8138:af41:63a7:d872/64 scope link

       valid_lft forever preferred_lft forever
On the line denoting the interface eth0, you should see the inet address. In this example, the Pi has an IP address of 192.168.0.21.
If you don’t have DHCP, you’re going to have to configure a static IP address for your Pi. You can look for other guides on how to do this.
Enabling the SSH Server
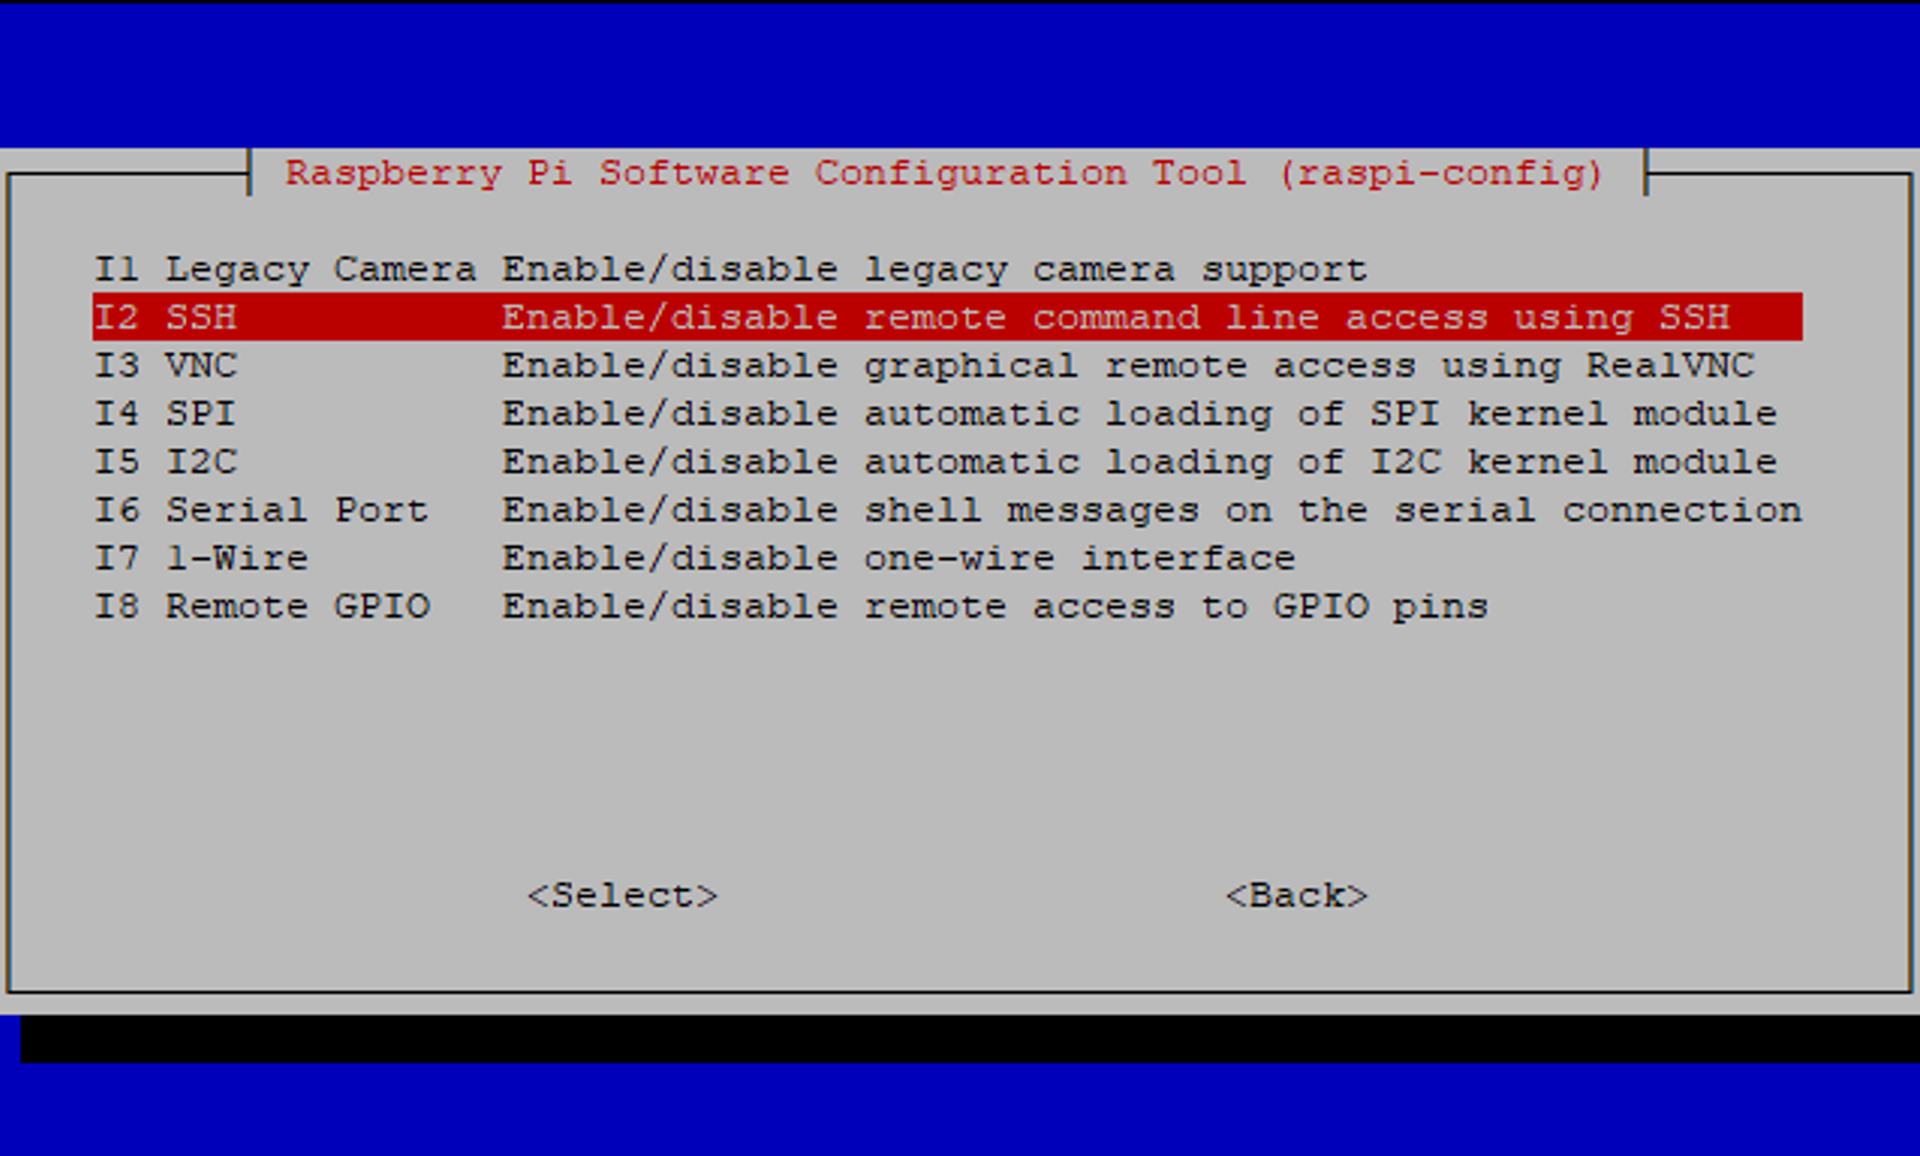
By default, your Raspberry Pi does not have an active SSH daemon running. You need to enable it via the sudo raspi-config command. Once you’re in the configuration tool, select Interface Options:
Then select SSH:
You will be asked to confirm that you want the SSH server to be enabled, coupled with a warning about weak passwords:
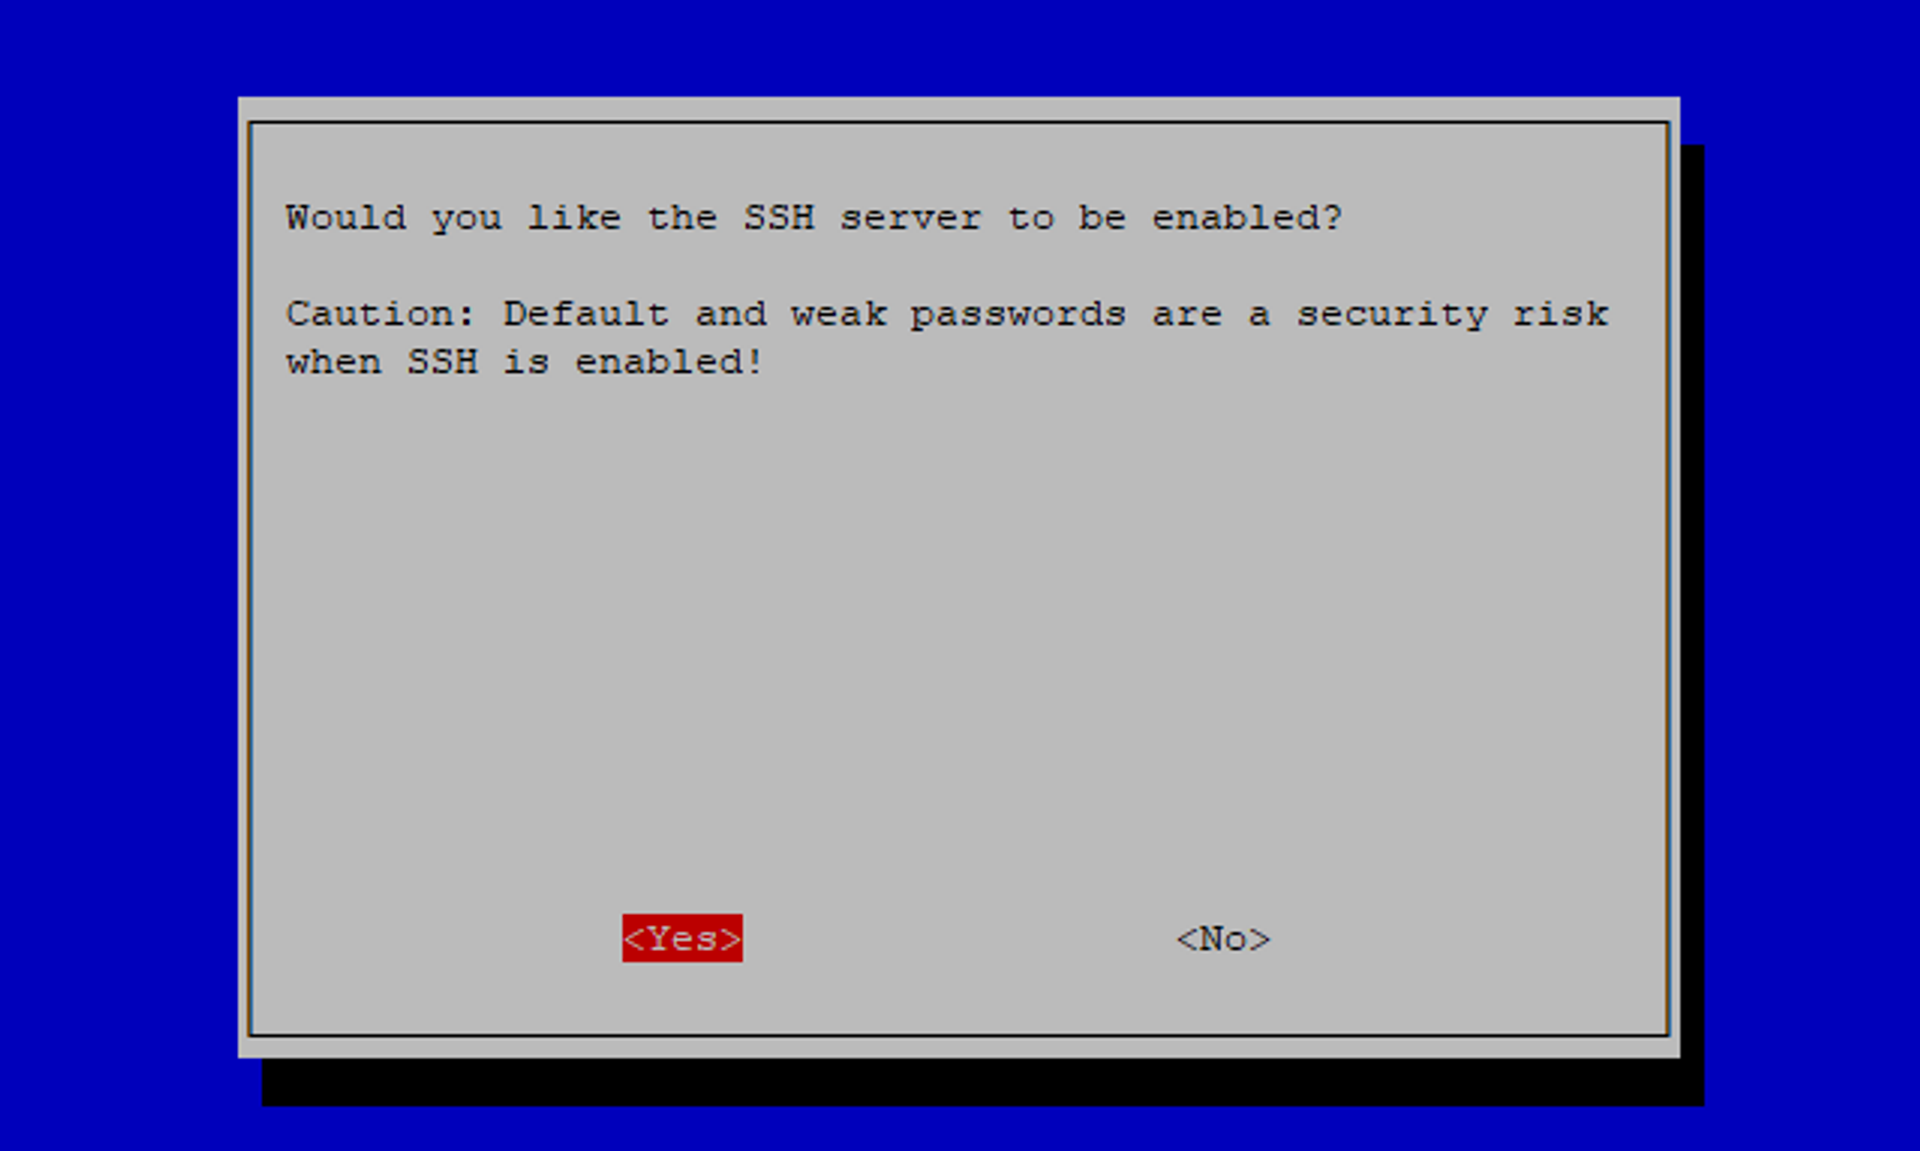
Select Yes. The next screen will confirm that the SSH server has been enabled:
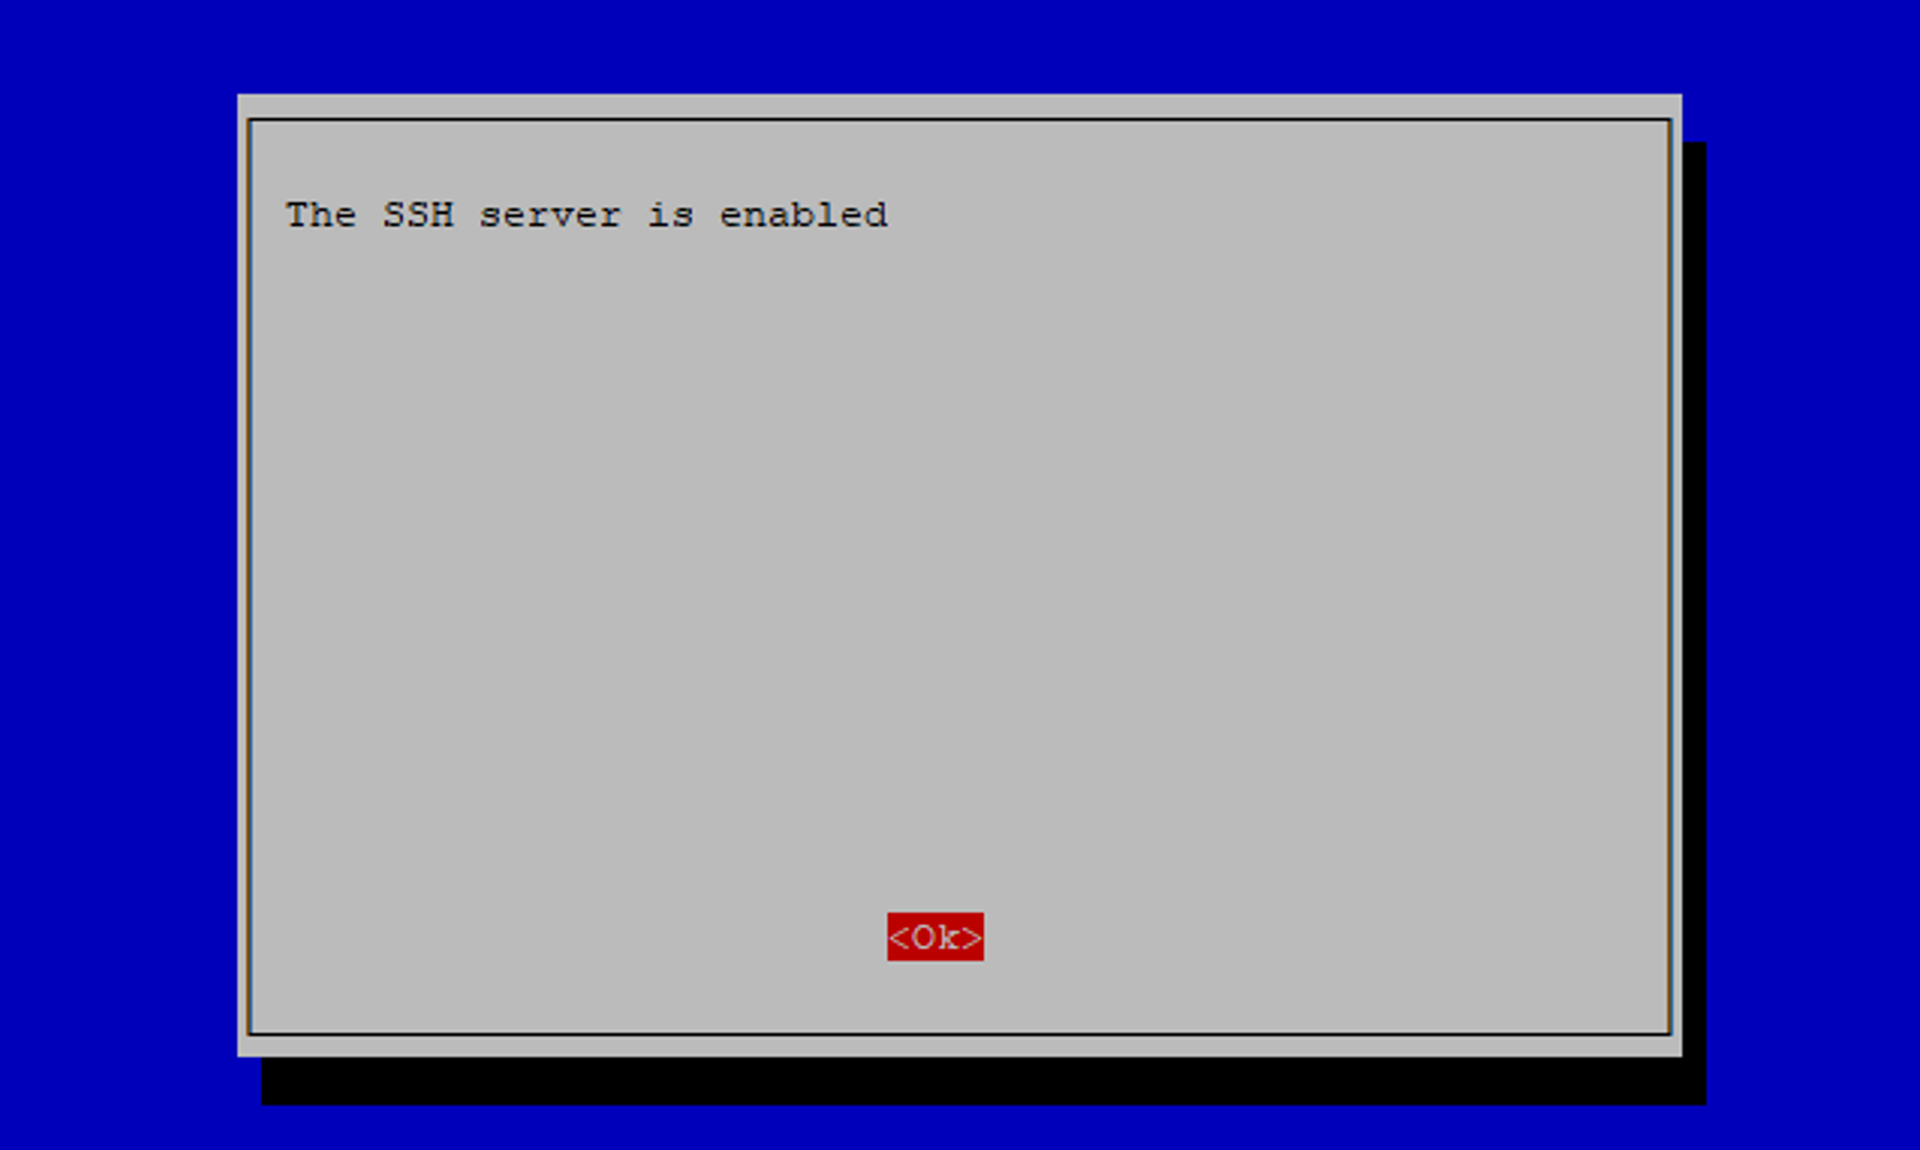
Select Finish to exit the raspi-config tool.
Testing Your SSH Connection
There are many SSH clients available for connecting to your Pi. Depending on your operating system and currently installed software, you might not even have to download an SSH client.
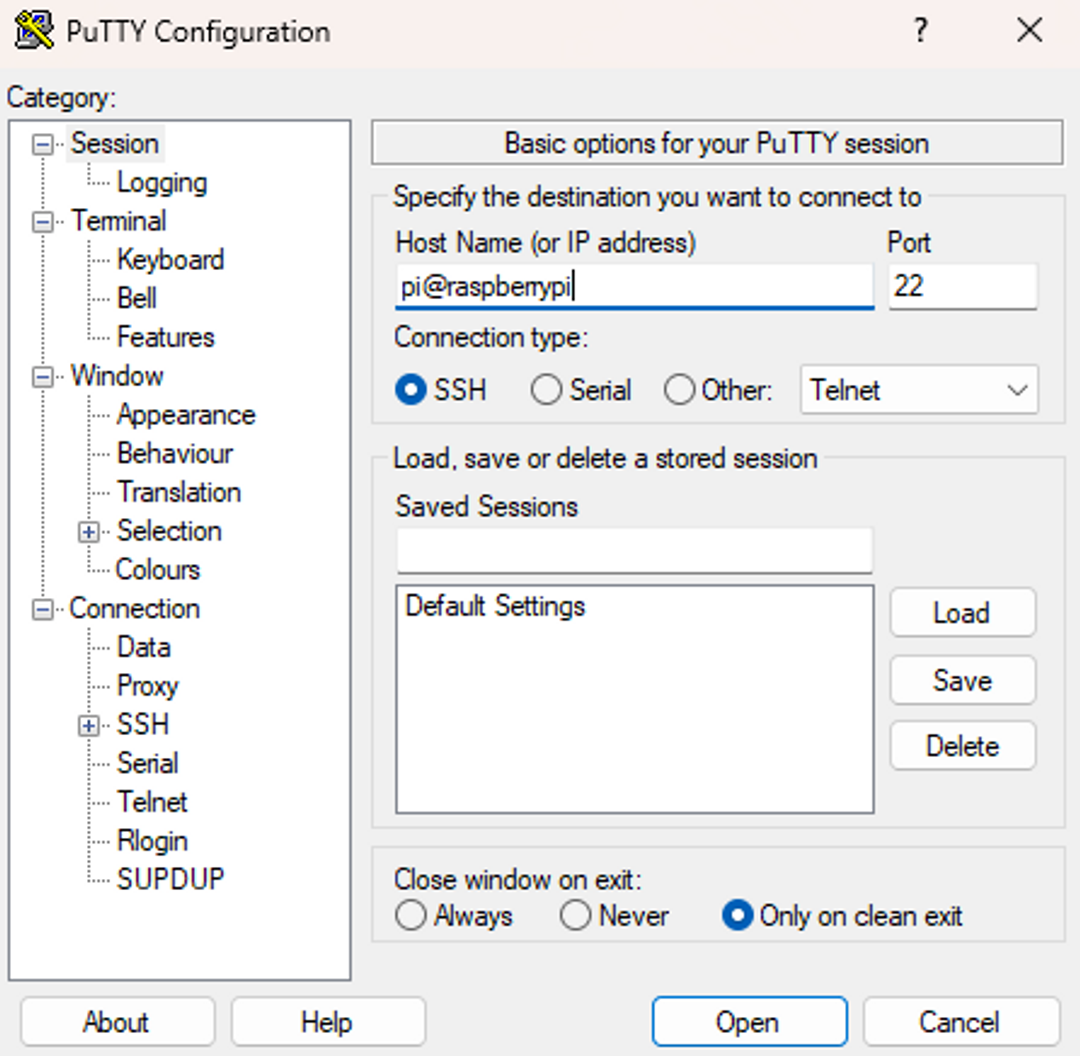
For the purpose of this guide, let’s assume you’re using a Windows operating system. One of the more popular lightweight SSH clients available for the Windows platform is PuTTY. Download and install PuTTY on your system.
When you start PuTTY for the first time, it will ask you to enter an IP address or host name to connect to. Enter the IP you found when you ran ip a l into the Host Name box:
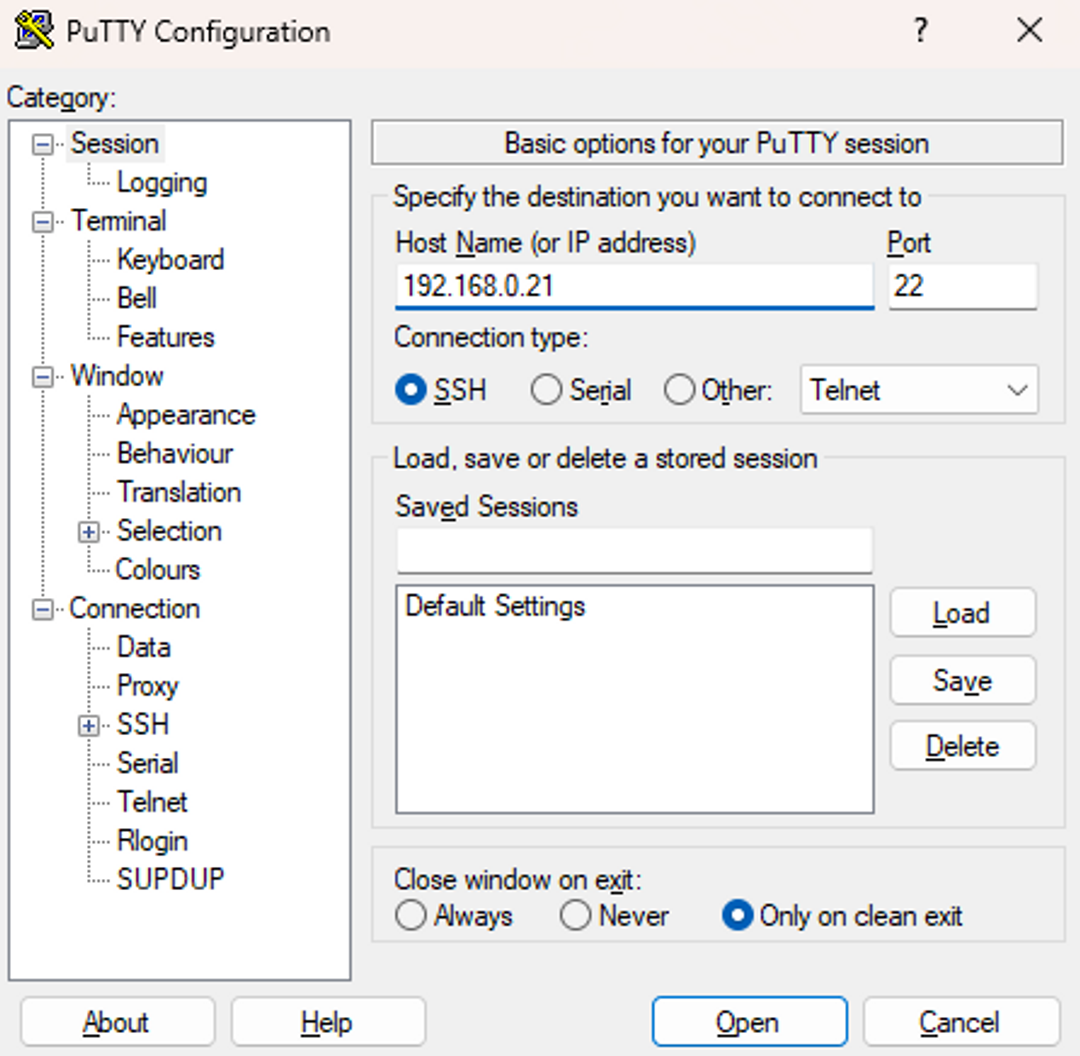
Click Open to connect to your Pi via SSH.
The first time you connect to your Pi, PuTTY will warn you that it doesn’t recognize the host key for this server. You’re given a few options: Accept, Connect Once, or Cancel.
This is a standard warning for SSH the first time your client connects to a specific server. The server (your Pi in this case) gives the client a host key as an identification method. This is useful because if the same server presents a different key the next time you connect to it, you know you need to be wary. It could be that an adversary is performing a manipulator-in-the-middle (MITM) attack.
Since this is the first time you’re connecting to the host and you know you haven’t cached the host key yet, it’s safe to accept the key and continue with the connection.
Enter your username and password as you did when you were using the Pi with a monitor:
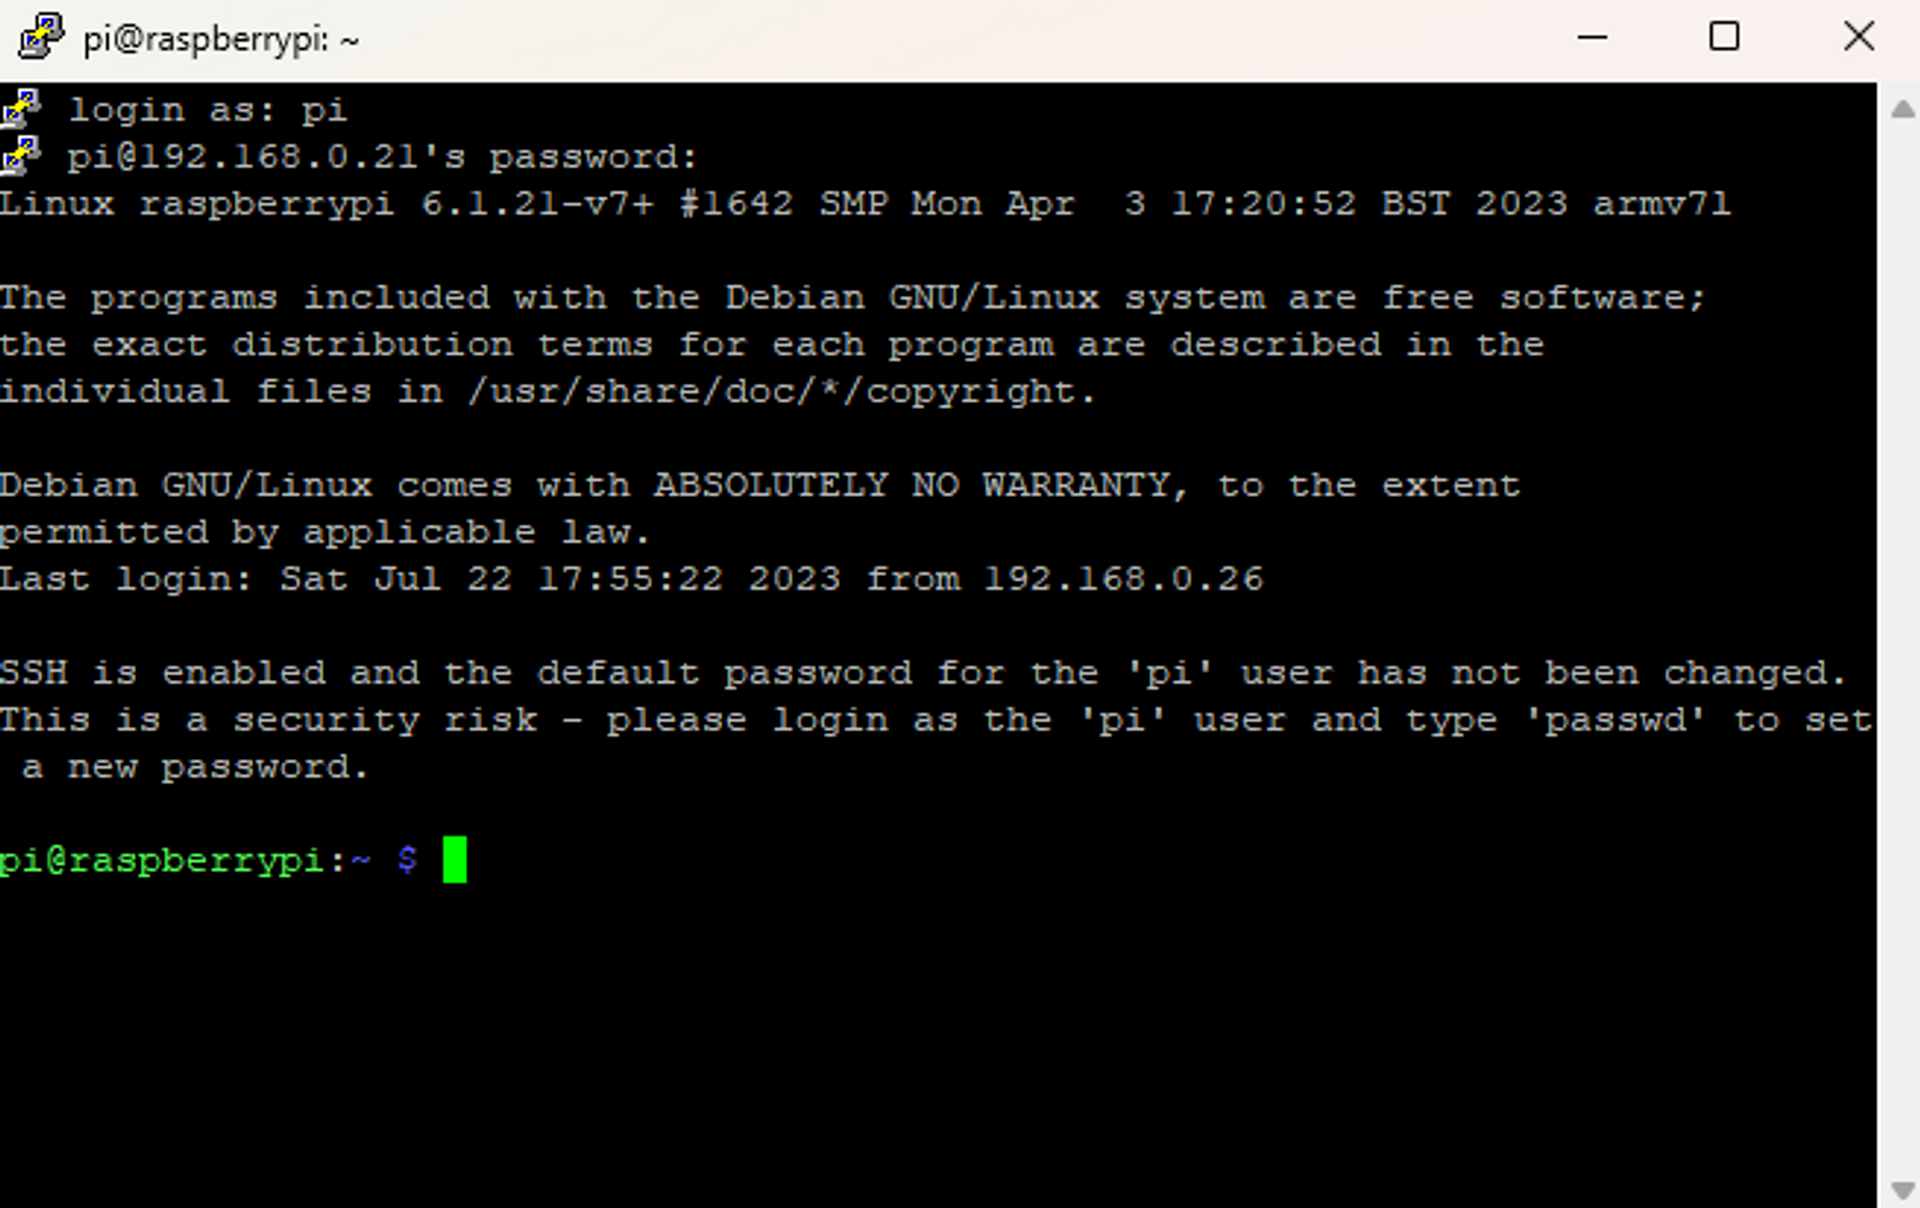
And that’s it! You’ve logged on to your Pi via SSH.
From here, you can continue configuring it as you please. You can even remove the monitor from your Pi as it has now been correctly prepared for running in a headless configuration.
You can also explore other Windows-based tools like WinSCP that allow you to transfer files to your Raspberry Pi via the SSH interface.
Networking Limitations
Having SSH access to your Pi means you can connect to it from any computer on the local network.
If you have access to your local router, you can even enable remote connectivity by setting up port forwarding. Using a Dynamic DNS together with a port forwarding rule, you don’t even have to know what your ISP-assigned public IP is for your local router.
However, setting up these things can be difficult if you don’t know what you’re doing.
Enhancing SSH Access with Tailscale SSH
To make SHH access on your Pi easier and more secure, a tool like Tailscale comes in handy.
Tailscale is a VPN service that allows your devices to be accessible from anywhere in the world in a secure and easy-to-configure manner. It uses the WireGuard protocol to create secure, end-to-end encrypted tunnels between your devices in a mesh network layout, making it easy for the different devices to communicate with each other regardless of which network they are on.
When you set up Tailscale on your Pi, you don’t need to set up port forwarding rules on your router. This means your Pi isn’t directly exposed to the internet, which immediately makes it more secure. Tailscale will allow only authorized devices on the same mesh network to connect to one another.
Tailscale SSH further secures your SSH connection by enabling a different SSH daemon to work exclusively over your tailnet (short for Tailscale network). Tailscale SSH not only encrypts your connection via the Wireguard protocol but also handles automatic key rotation for you. The same ACLs (access control lists) and permissions that you set up in your Tailscale dashboard can be enforced for SSH access over your tailnet.
Let’s see what it looks like in action.
Sign Up for a Tailscale account
First, create a Tailscale account using the identity provider of your choice.

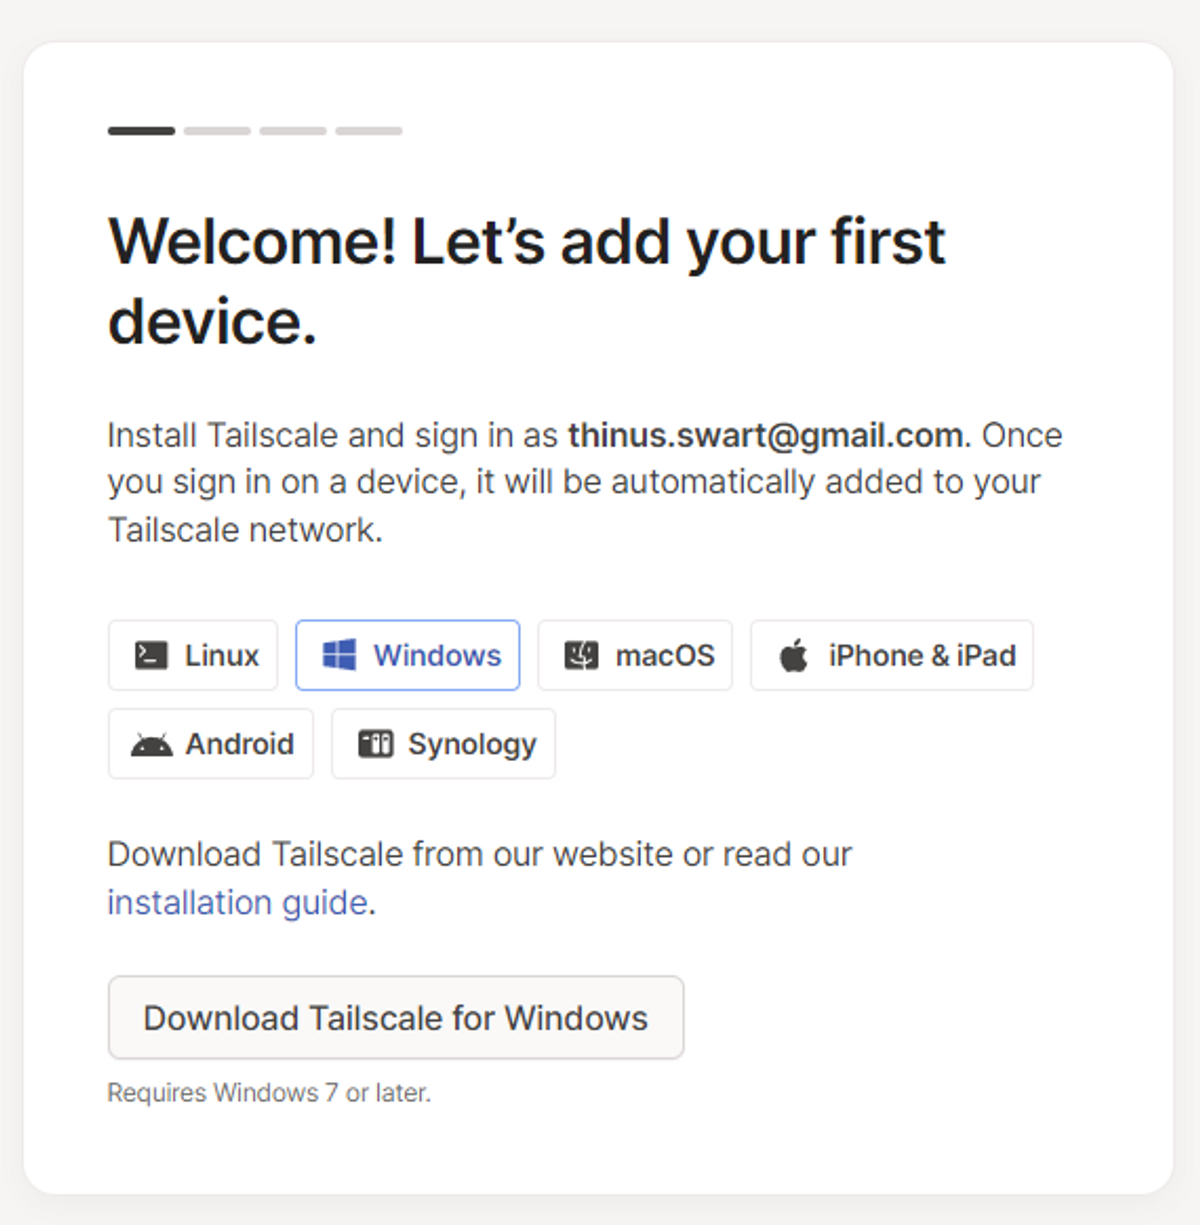
Install Tailscale on Your Device
Tailscale will ask you to install the app on one of your devices. For this guide, we’ll continue assuming you have a Windows device, but Tailscale supports many other device types too, so download the one relevant to your device.
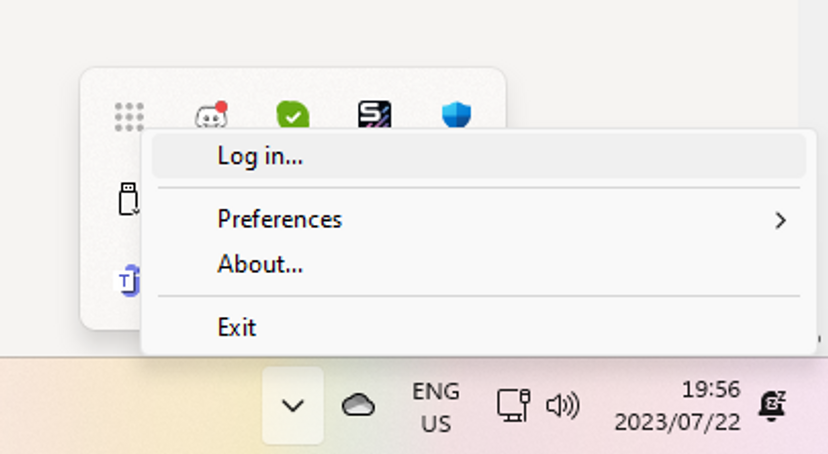
Once the application has been installed, the Tailscale icon should be running in your system tray. Right-click the icon and select Log in.
In the browser page that opens, you’ll be asked to log in using the same credentials you entered when you created a Tailscale account.
Next, you’ll be asked to confirm whether you want this device to join your tailnet.
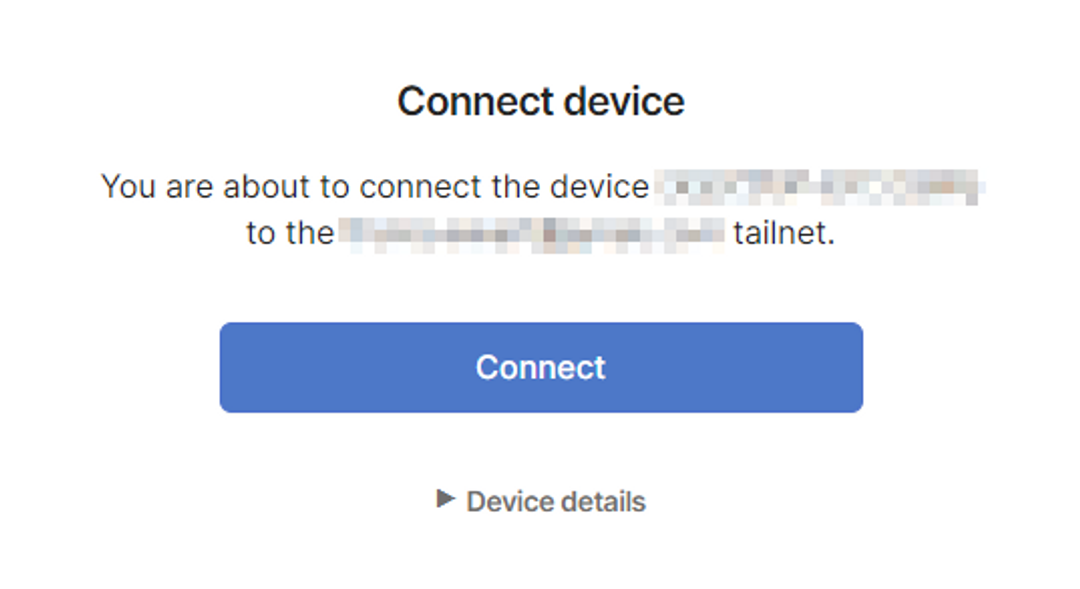
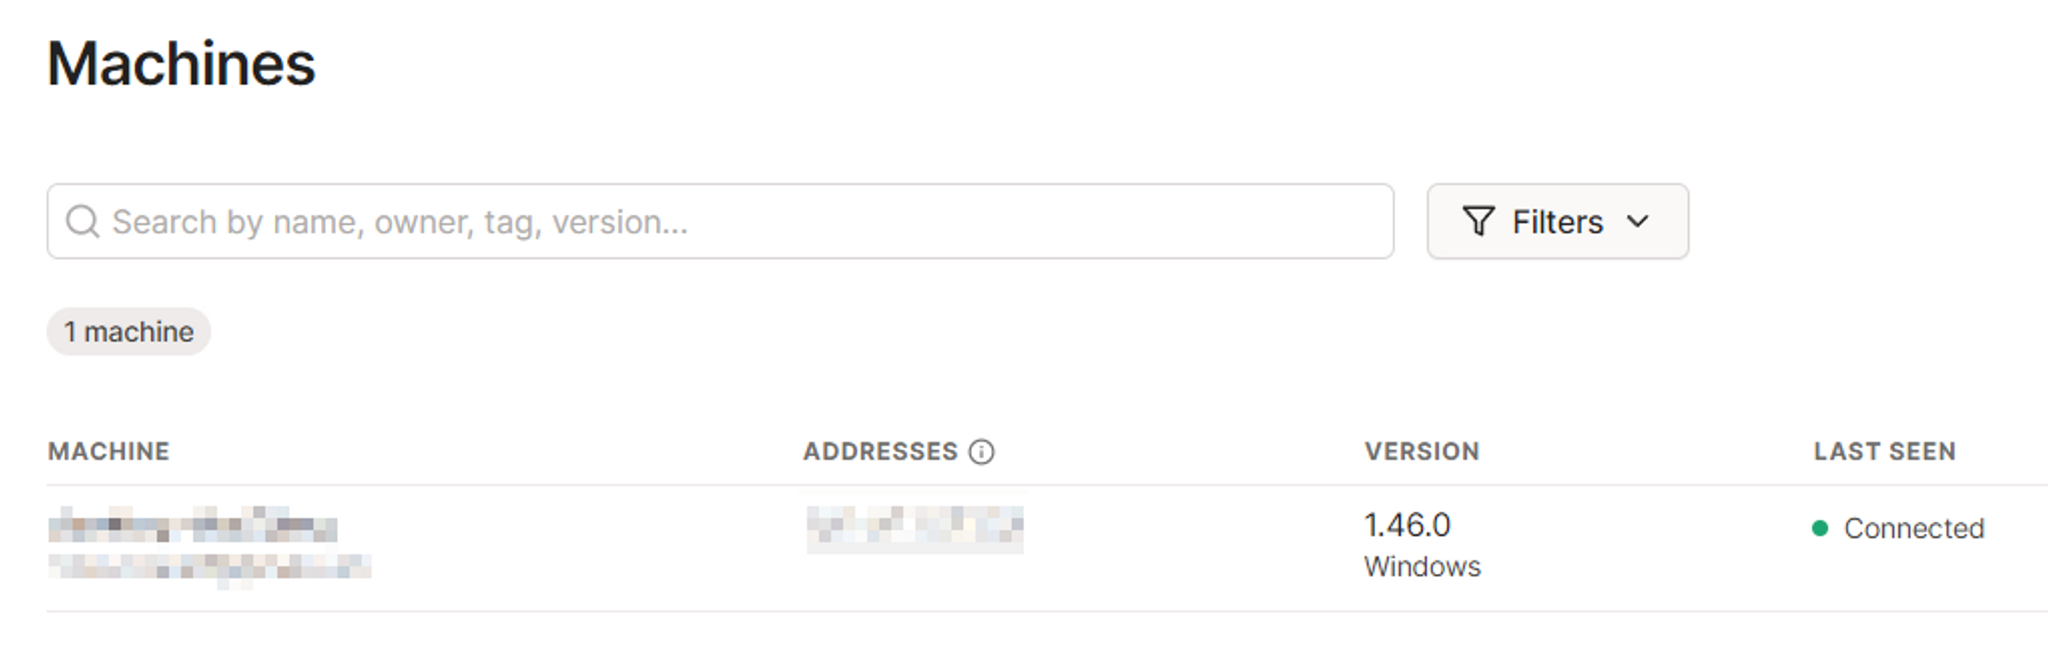
Click Connect to join your device to the tailnet. It will now be visible in the Machines dashboard.
Install Tailscale on Your Pi
To install Tailscale on your Pi, follow Tailscale’s handy installation document. The version of the Raspberry Pi OS used in this article is “Bullseye”, so those are the instructions that will be used in this guide.
You can even install Tailscale over SSH if you’re still on the same local network as the Pi. To do that, connect to your Pi, and run the following commands:
pi@raspberrypi:~ $ sudo apt-get install apt-transport-httpsThis will install the “apt-transport-https” plugin.
Add Tailscale’s package signing key as well as their repository with these two commands:
pi@raspberrypi:~ $ curl -fsSL https://pkgs.tailscale.com/stable/raspbian/bullseye.noarmor.gpg | sudo tee /usr/share/keyrings/tailscale-archive-keyring.gpg > /dev/null

pi@raspberrypi:~ $ curl -fsSL https://pkgs.tailscale.com/stable/raspbian/bullseye.tailscale-keyring.list | sudo tee /etc/apt/sources.list.d/tailscale.list
Now update your APT package list and install Tailscale from the new package repository:
pi@raspberrypi:~ $ sudo apt update

pi@raspberrypi:~ $ sudo apt install tailscale
Your Pi will now download and install the Tailscale application.
Run this command to bring up the Tailscale client:
pi@raspberrypi:~ $ sudo tailscale up

To authenticate, visit:

        https://login.tailscale.com/a/xxxxxxxxxxxx
The Tailscale application recognizes that you’re on a system without a browser, so it asks you to navigate to a URL on another machine to authenticate your Pi.
Navigating to that URL will bring you to the same login page as before. Enter the credentials you used to sign up for your initial account.
You’ll again be asked whether you want to add this new device to your existing tailnet:
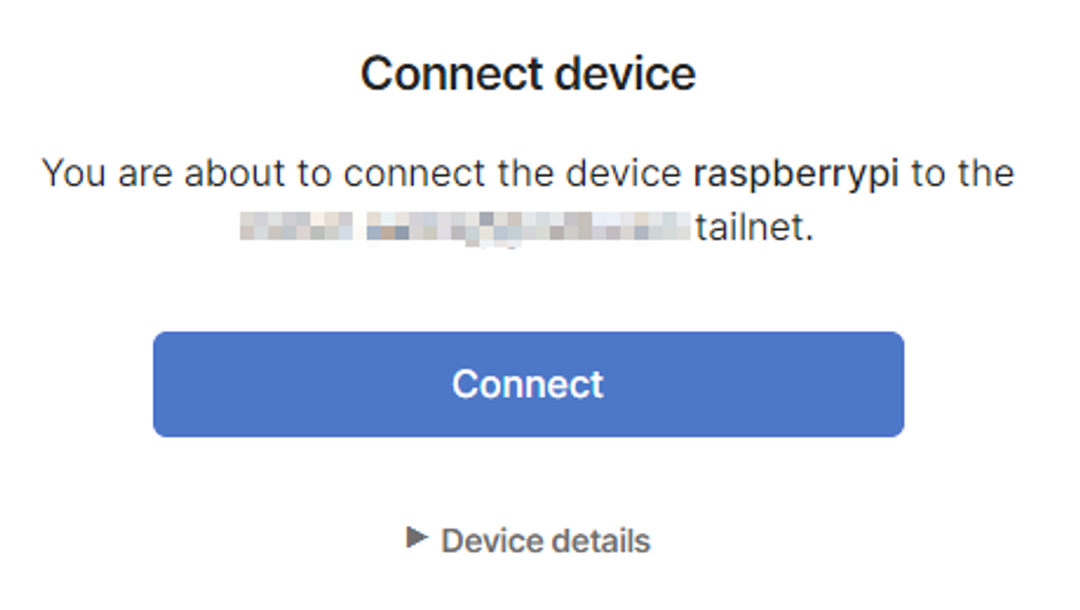
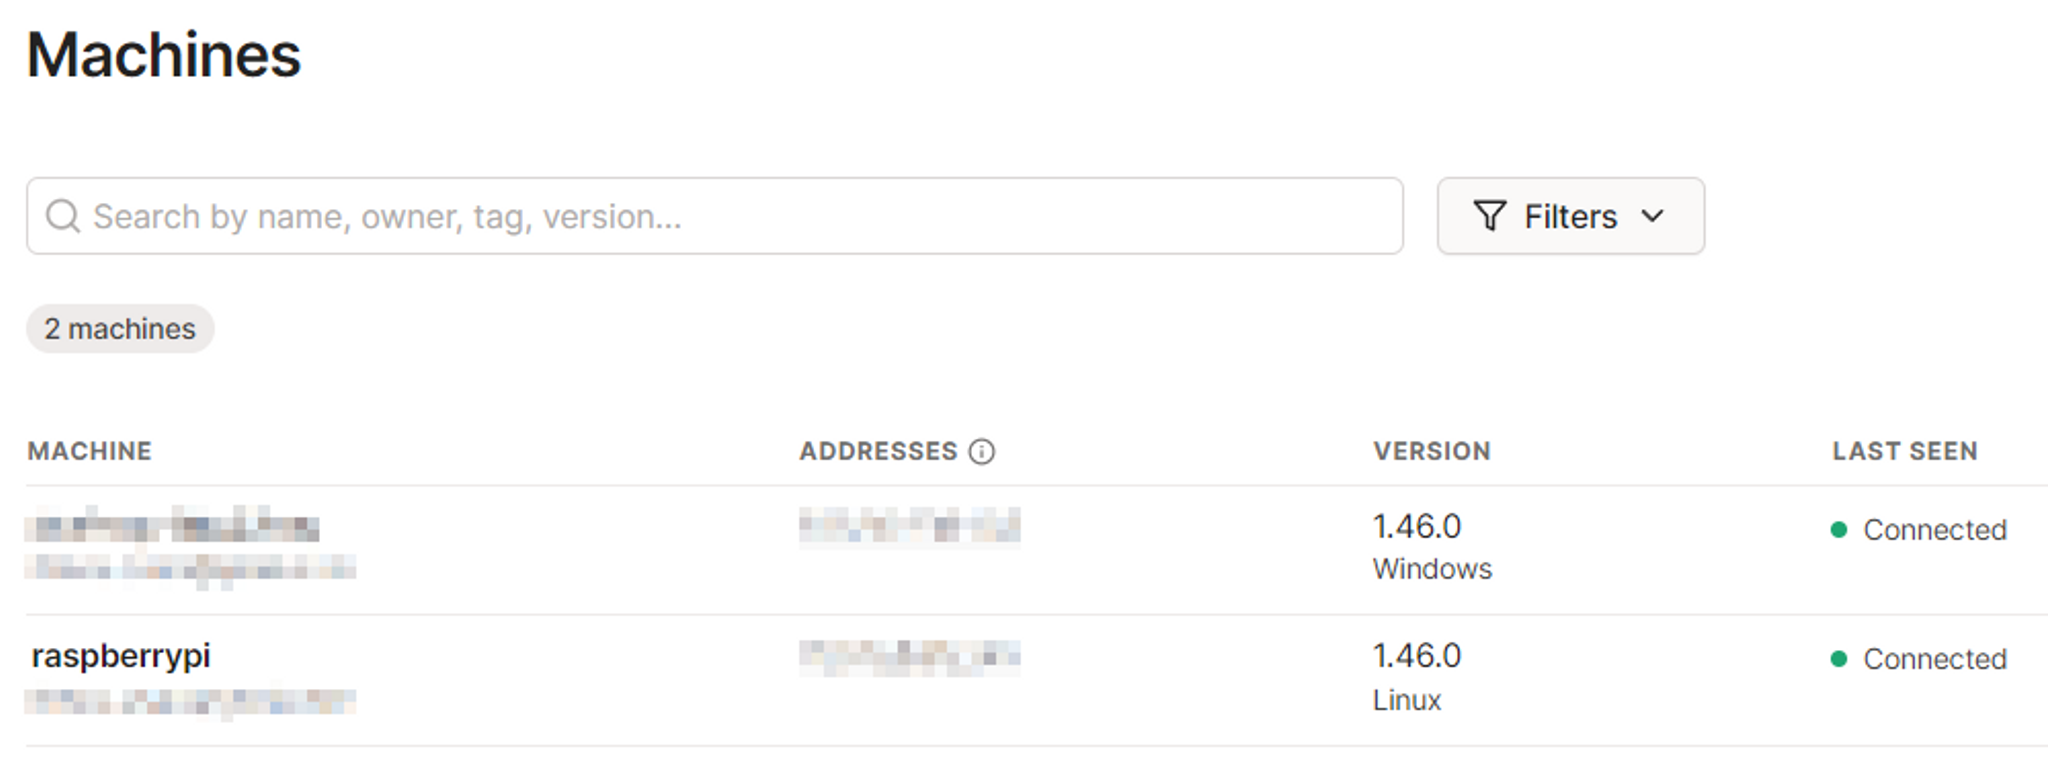
Once you click Connect, the Pi command will show Success to confirm that the Pi is now connected to the tailnet.
Your machines dashboard should now have both devices linked:
Enabling Tailscale SSH Access
Now it’s time to enable SSH on rpi access via Tailscale:
pi@raspberrypi:~ $ sudo tailscale up --sshOnce you’ve done that, your machine’s dashboard will reflect that the SSH port is available on the tailnet:

Editing Your Tailscale Access Control List
Next, you need to edit your Tailscale ACL that allows SSH access on your tailnet to the Raspberry Pi. You can do this either via the admin console or Tailscale’s API.
Click on Access Controls in your dashboard:
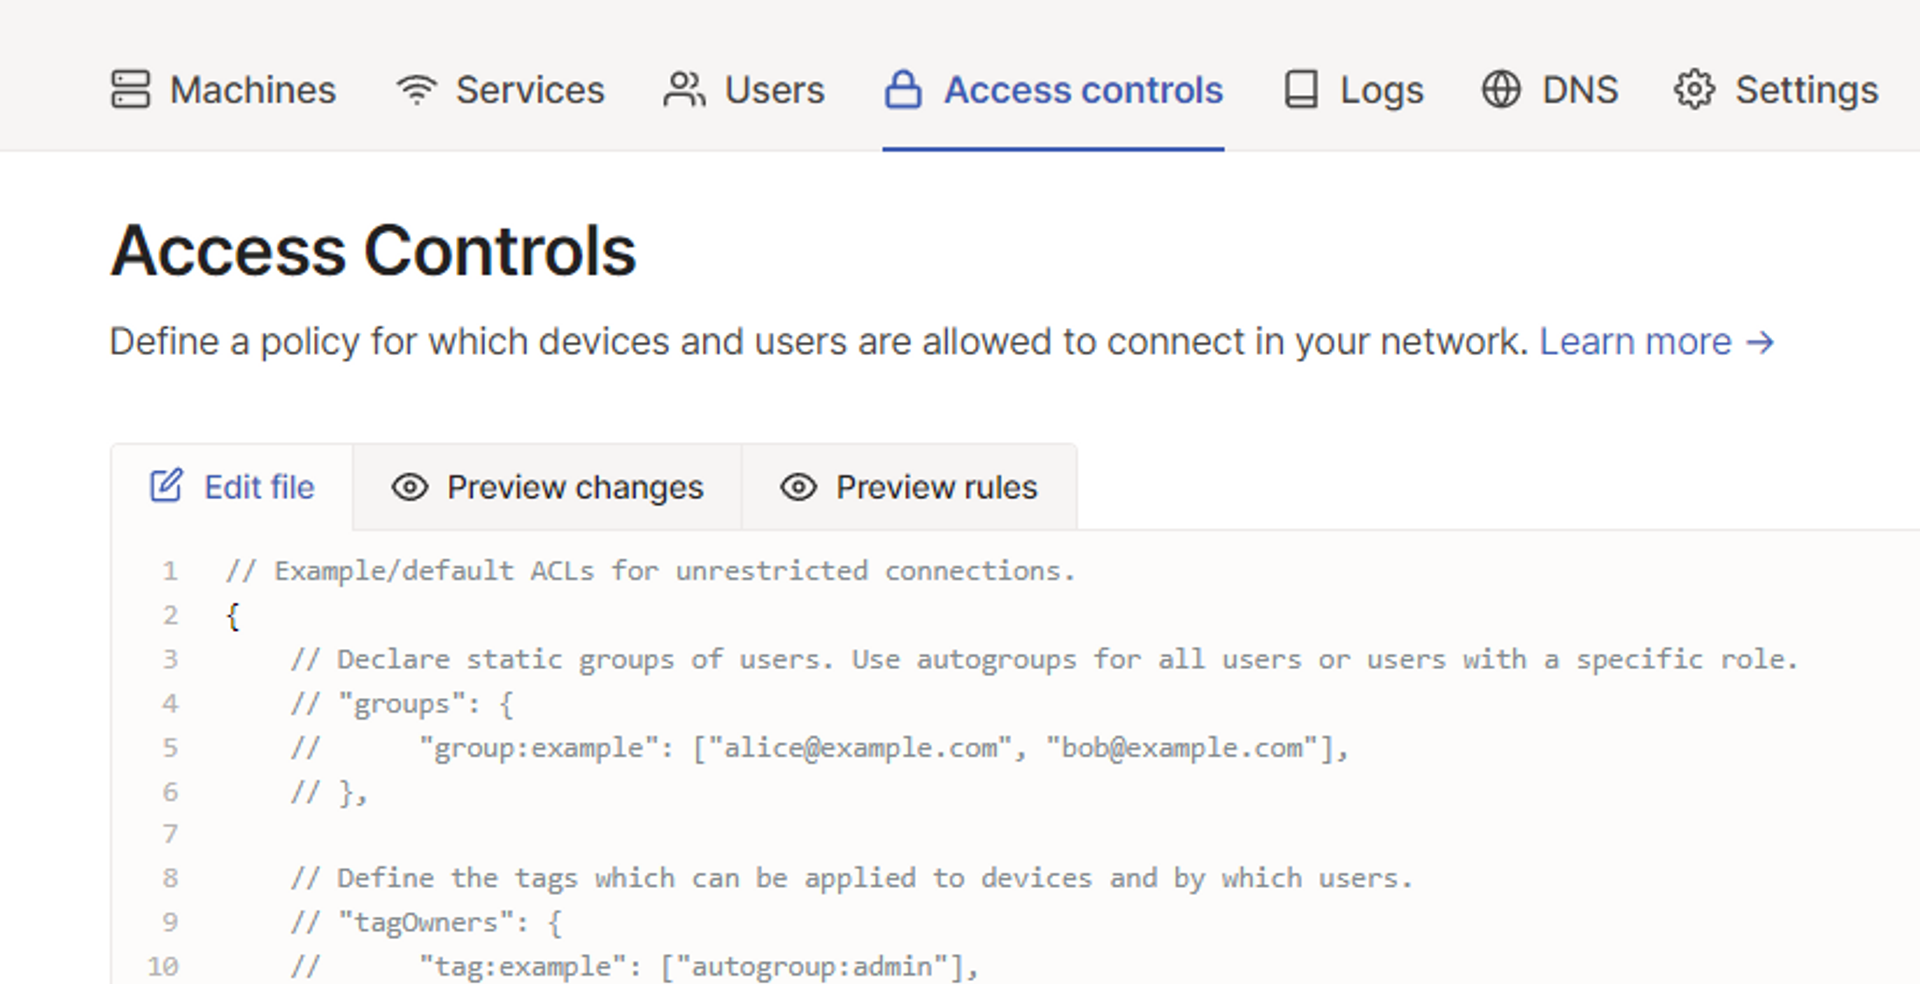
Find the SSH section in your ACL policy:
"ssh": [

// Allow all users to SSH into their own devices in check mode.

// Comment this section out if you want to define specific restrictions.

{

"action": "check",

"src":    ["autogroup:members"],

"dst":    ["autogroup:self"],

"users":  ["autogroup:nonroot", "root"],

},

],
The src can be a username, group, or tag. You can define your machines with tags using the same ACL file, but for this tutorial, the current setting means that the owner of any device in the tailnet can connect to the SSH port of any other device in the tailnet. If you want to be more specific about your access control policy, refer to Tailscale’s documentation for tags.
One change you should make even for this tutorial is to change the users section to allow the root user via SSH. Allowing “root” (the Linux super-user) over SSH is considered bad practice even if you’re inside your own private tailnet.
"ssh": [

// Allow all users to SSH into their own devices in check mode.

// Comment this section out if you want to define specific restrictions.

{

"action": "check",

"src":    ["autogroup:members"],

"dst":    ["autogroup:self"],

"users":  ["autogroup:nonroot"],

},

],
Save the policy file.
Now that the service has been advertised to the console and the ACL has been set up, you can connect to your Pi using the MagicDNS name generated by Tailscale:
You will be asked to confirm the host key again because for PuTTY, this is like a new host. Accept the key, and you will be successfully connected to your Pi over Tailscale!
You will notice one difference from the previous time you logged in, though. You did not need to enter a password. This is because Tailscale’s daemon handles key-based authentication for you.
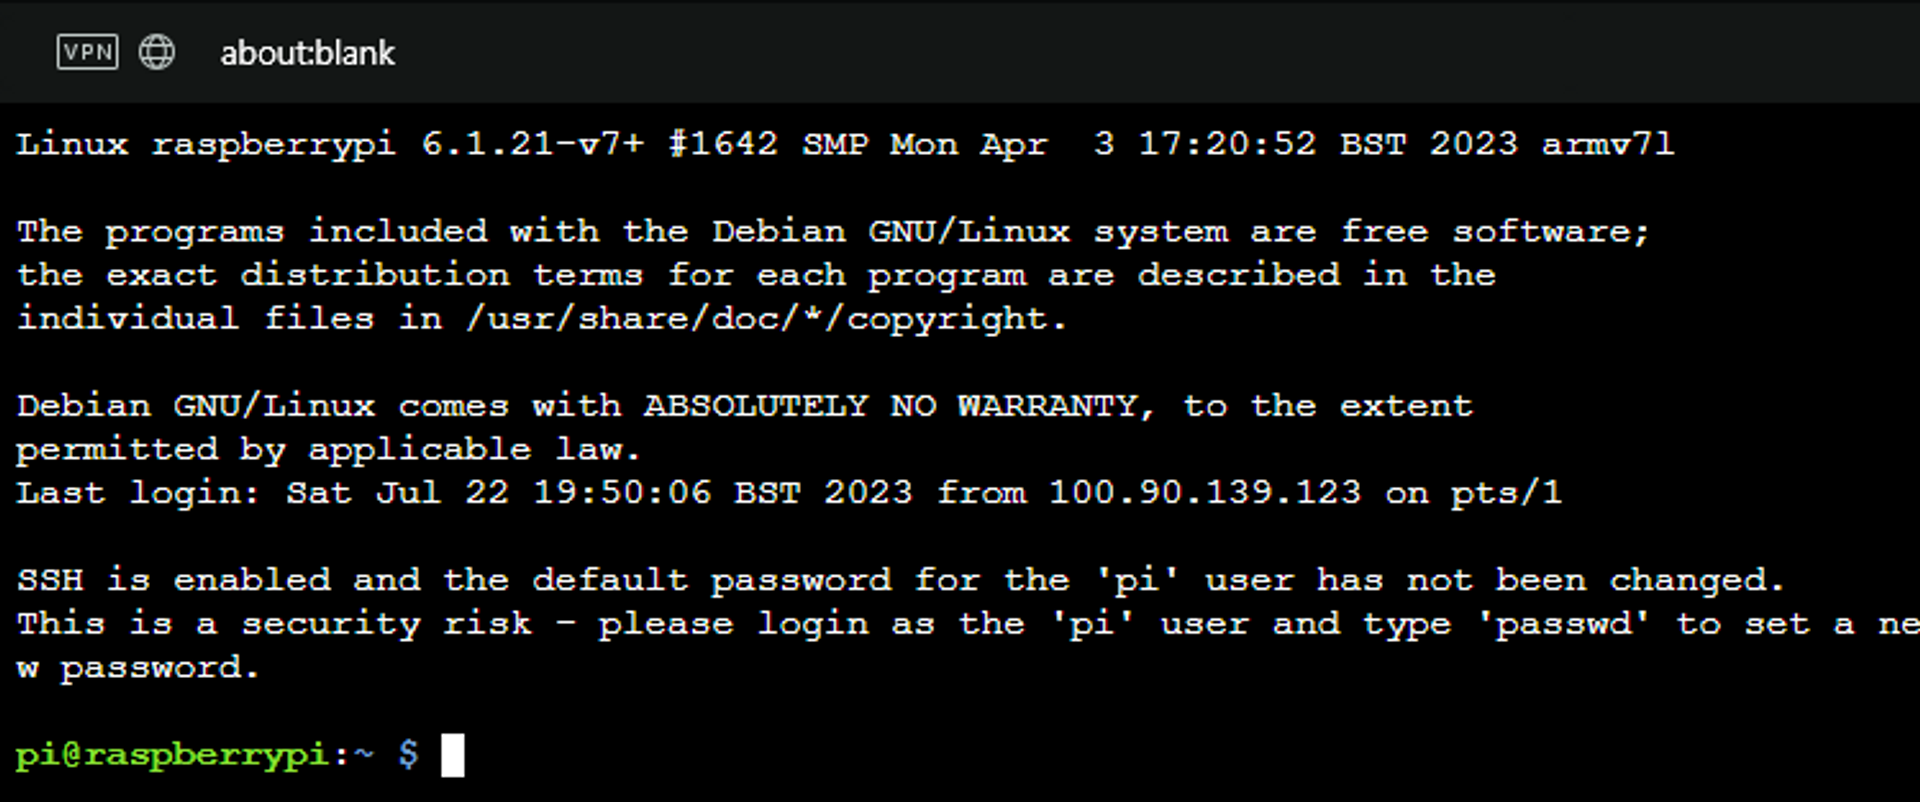
As an added bonus, Tailscale SSH allows you to connect to your Pi directly from the browser too.
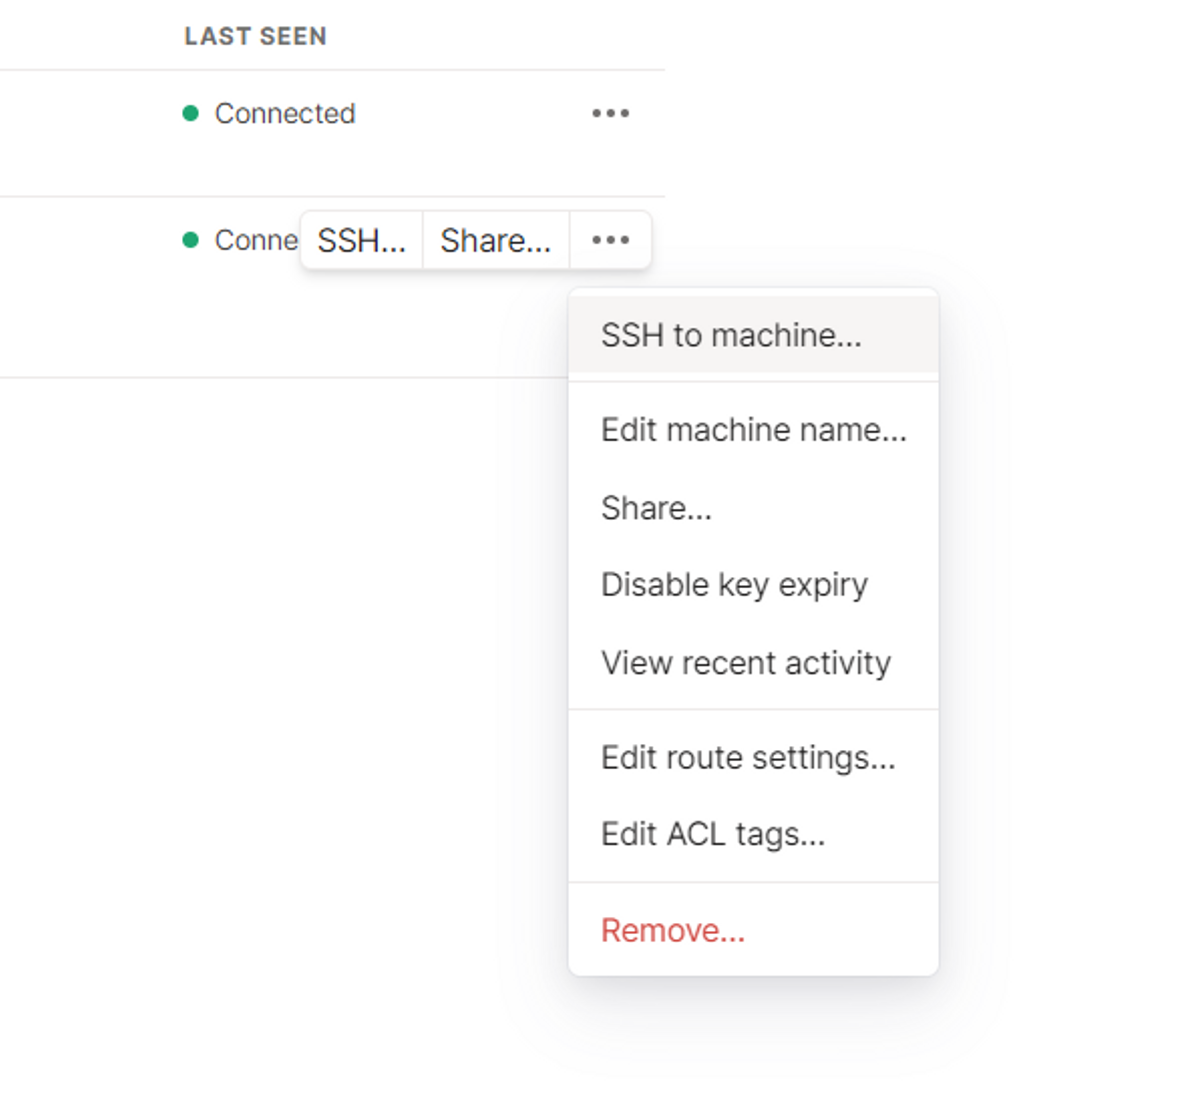
Log in to your Tailscale admin console from any location and locate the raspberrypi machine.
Click on the menu button (…) next to your machine name and then click SSH to machine:
When asked for a username, you can use pi:
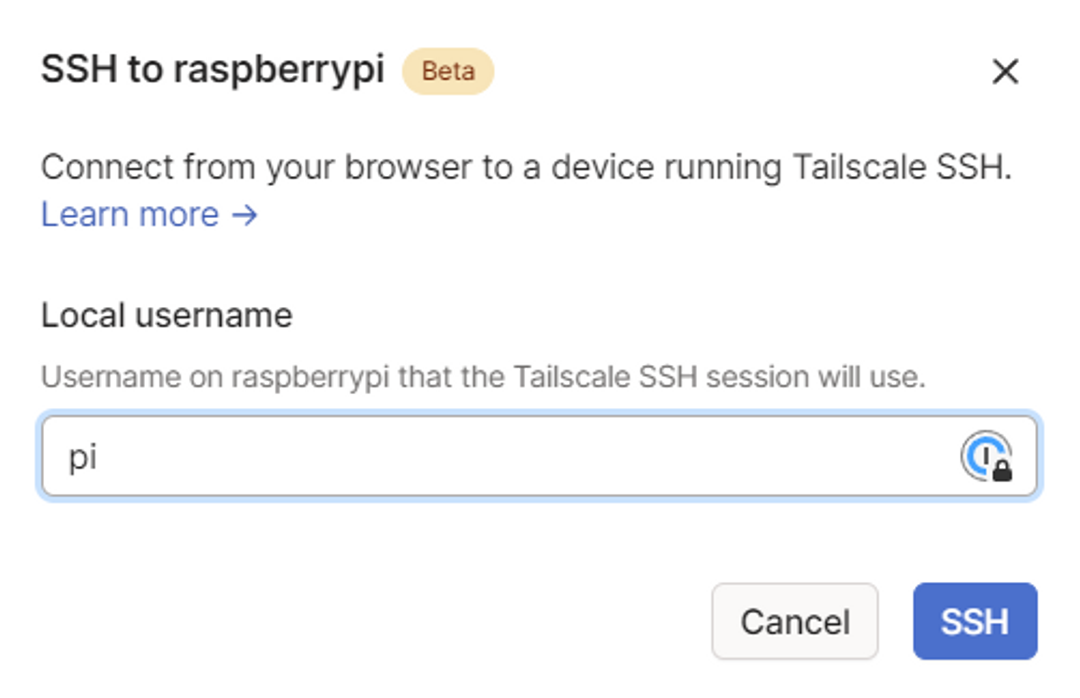
You might be asked to reauthenticate for security reasons:
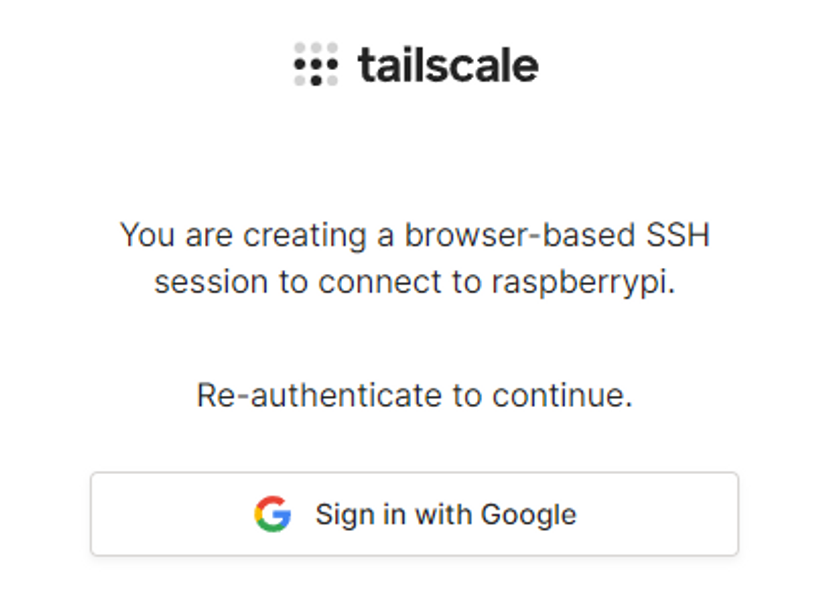
Once you’ve authenticated, a browser window will open and you will be connected to your Pi:
How Tailscale can help
Playing with a Raspberry Pi can be a lot of fun, but security can be a big issue, especially if you’re exposing your Pi to the general internet. It can invite bad actors to attempt to gain access to it.
Using Tailscale SSH gives you a secure, remote connection to your Pi so that you can use it anywhere in your house, car, classroom, or server room.
- Related resource: [Doc] Access a Pi-hole from anywhere
- Related resource: [Watch] Remotely access any system with a PiKVM and Tailscale
Ready to give Tailscale a try? Download it for free.


